
Where is Web Hosting Control Panel? 4 CloudPanel Steps for Web Server
Are you new to hosting and not able to find your panel? You're not alone. The control panel's location depends on your hosting provider and server setup.
This article explains key features and shows how to install CloudPanel.
Key Takeaways
-
Your control panel's location depends on your hosting type and provider.
-
Control panels offer essential features for managing your website.
-
CloudPanel simplifies server management with a straightforward installation process.
-
Keep these 3 things in mind after you install CloudPanel.
-
6 tips to help beginners find and use a web control panel.
Overview of Control Panel Location in Web Hosting
Understanding your control panel's location is important for efficient website management. It impacts how you access your server and manage your site. Here's what to consider:
1. Server Location and Speed
The closer your server (CloudPanel or cPanel) is to your users, the quicker your website loads. This improves user experience and speeds up updates.
2. Cloud-Based vs. Local Panels
Cloud-based panels like CloudPanel allow access from any web browser, offering flexibility. Local panels might need a VPN for security, sometimes adding complexity.
3. Access Methods
You can access your control panel through a URL like this most of the time:
Administrators can often customize access permissions.
4. Security Considerations
Control panels provide security tools like SSL certificates and IP blocking. Security measures might restrict access from unfamiliar locations.
5. Mobile Access
Designers create some control panels for mobile devices, enabling management on the go. This is particularly useful for developers who must perform tasks from a distance.
What’s Inside Your Web Hosting Control Panel: A List of 5 Features
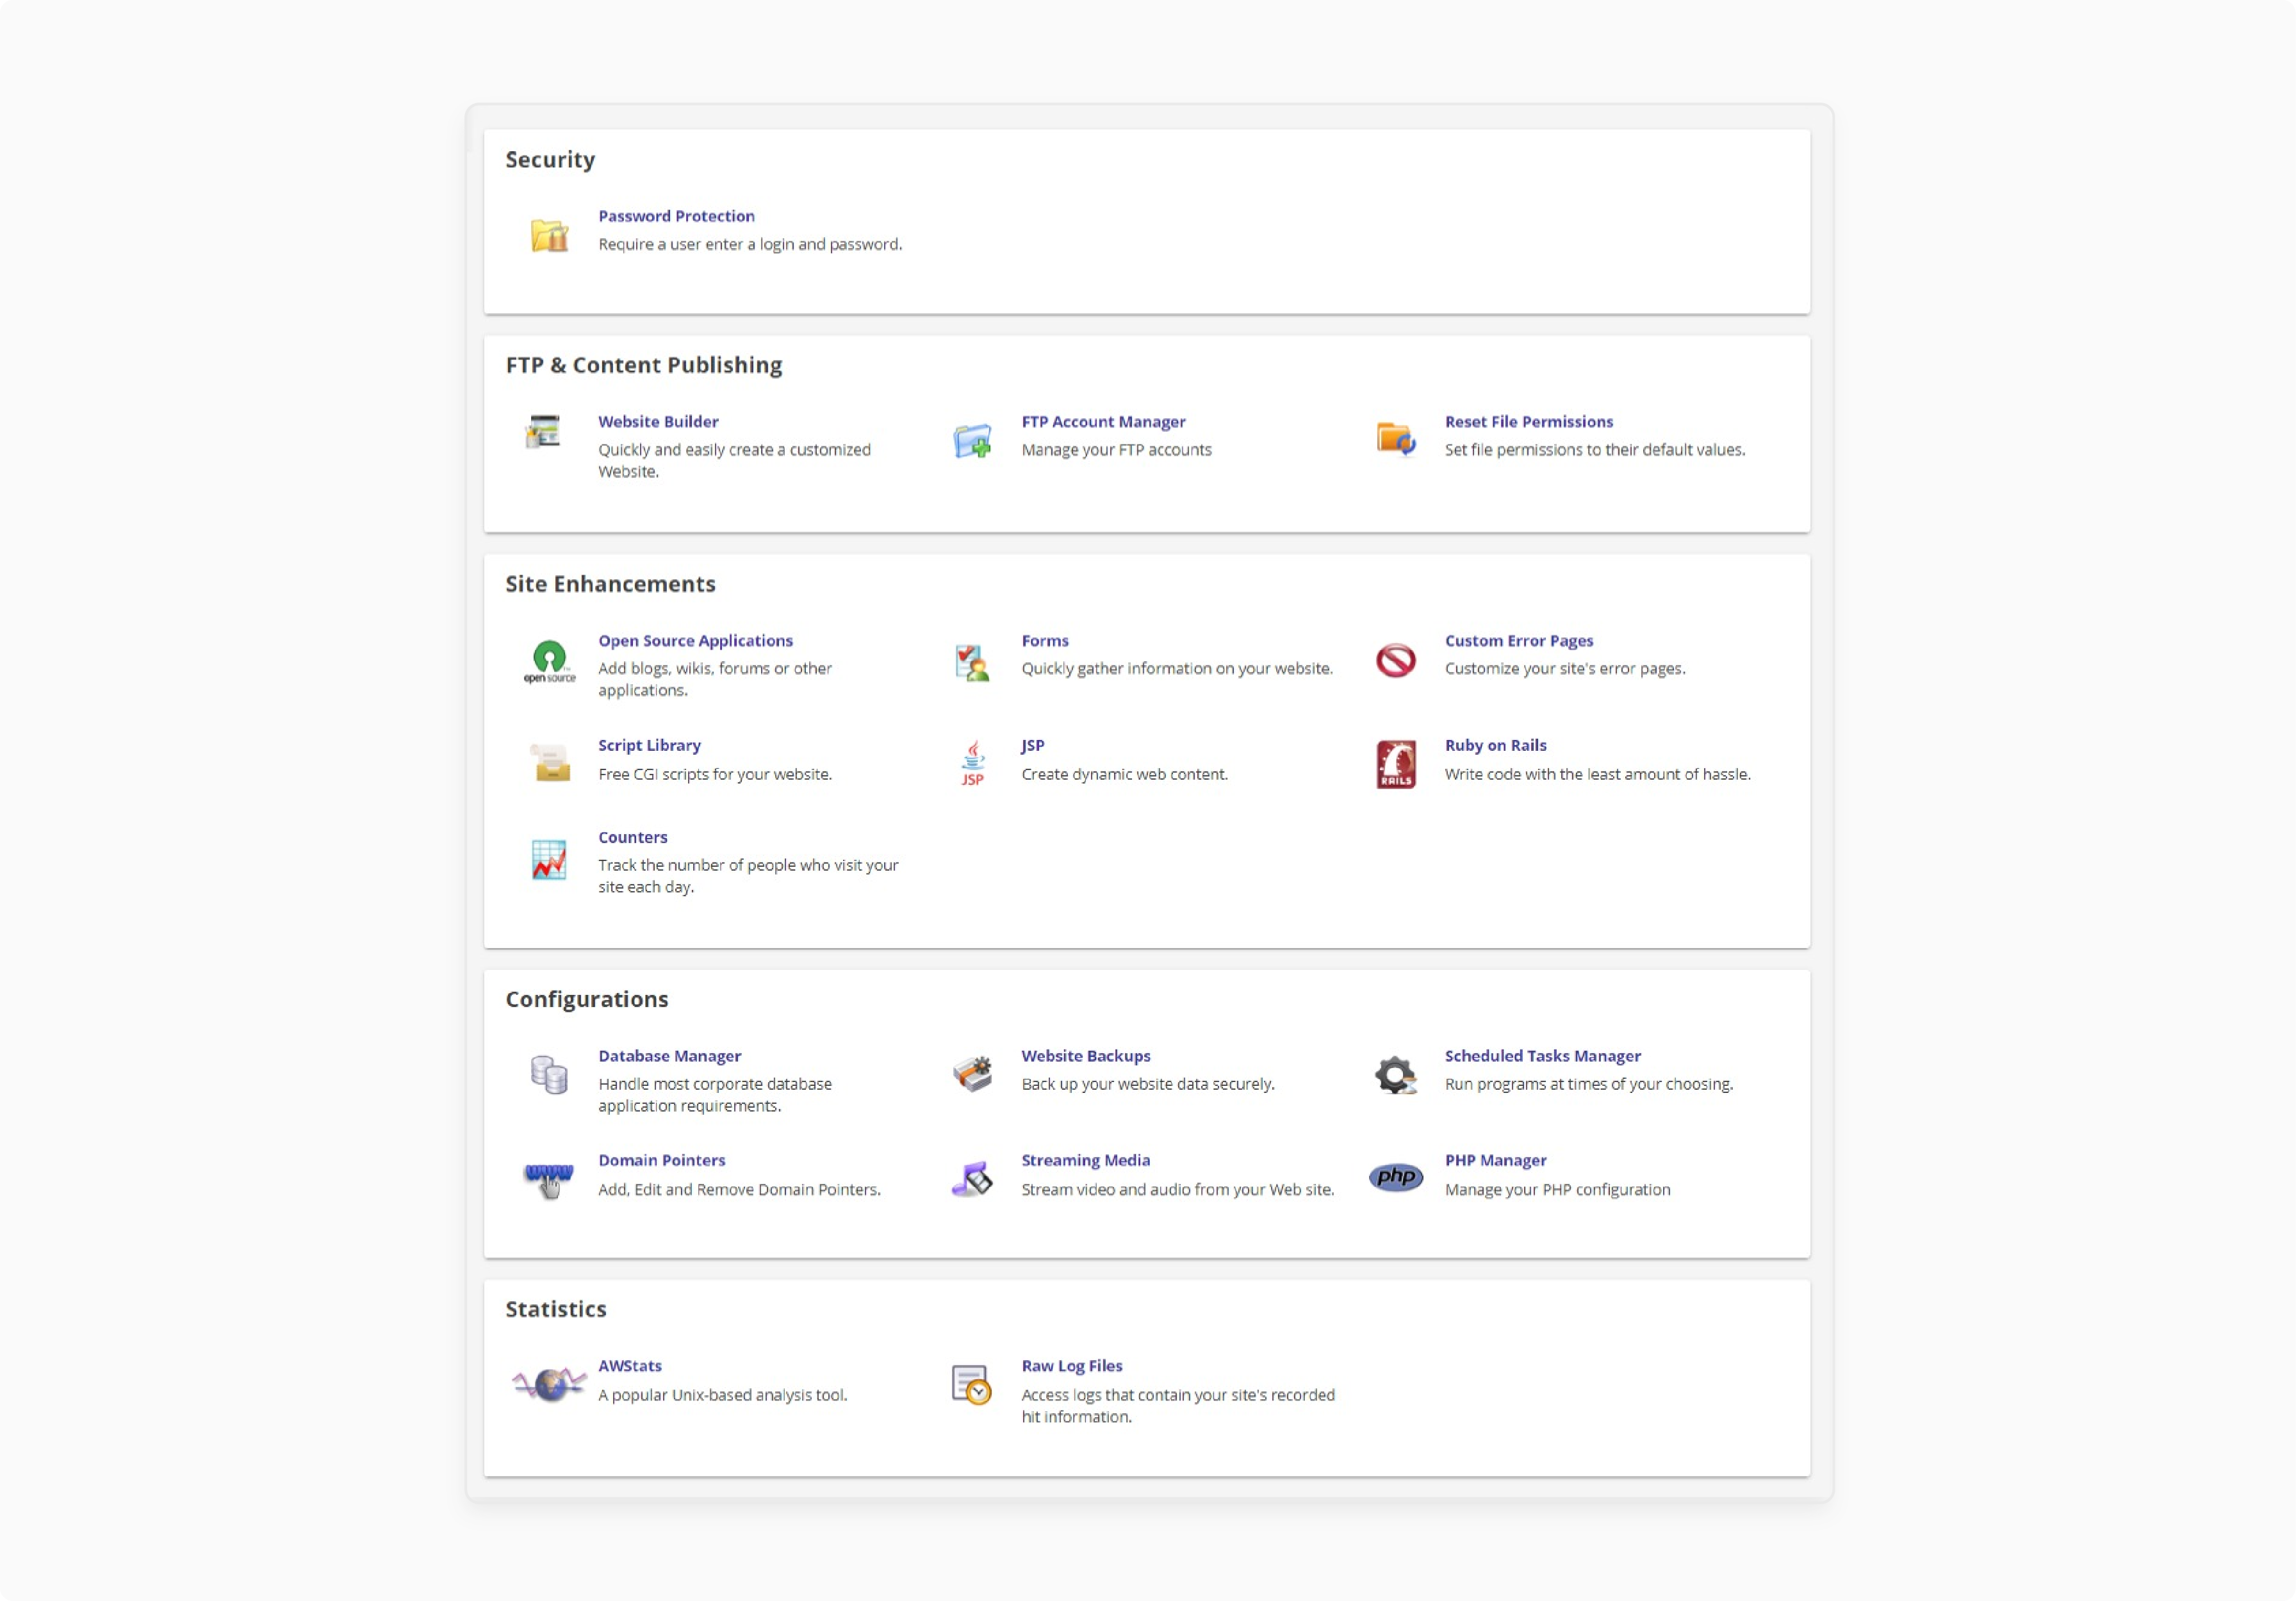
1. Security
- Basic Auth for site protection: You can restrict site access. Only those with the correct login can access it. It’s a good way to protect private files or content. In CloudPanel, this takes a few clicks.
2. FTP & Content Publishing
-
FTP Account Manager: You can add or remove FTP accounts. This controls who can upload or edit your website files. CloudPanel has a way to manage all FTP settings in one place.
-
Fix File Permissions: If your website has the wrong file permissions, this tool will fix them. You can reset them to the correct settings without any hassle. Many panels support this through the file manager.
3. Site Enhancements
-
Open Source Apps: Your site with blogs, forums, or online stores. Servers also support platforms like WordPress and these installations.
-
Error Pages: Replace default 404 or 500 error screens with custom pages that match your site’s look. You cannot find this in CloudPanel by default. You can set it up by altering the settings of your server's NGINX.
-
Ruby on Rails: This framework helps developers build powerful websites with less code. Many panels do not support Ruby on Rails. It requires manual installation and configuration outside the panel’s default features.
4. Configurations
-
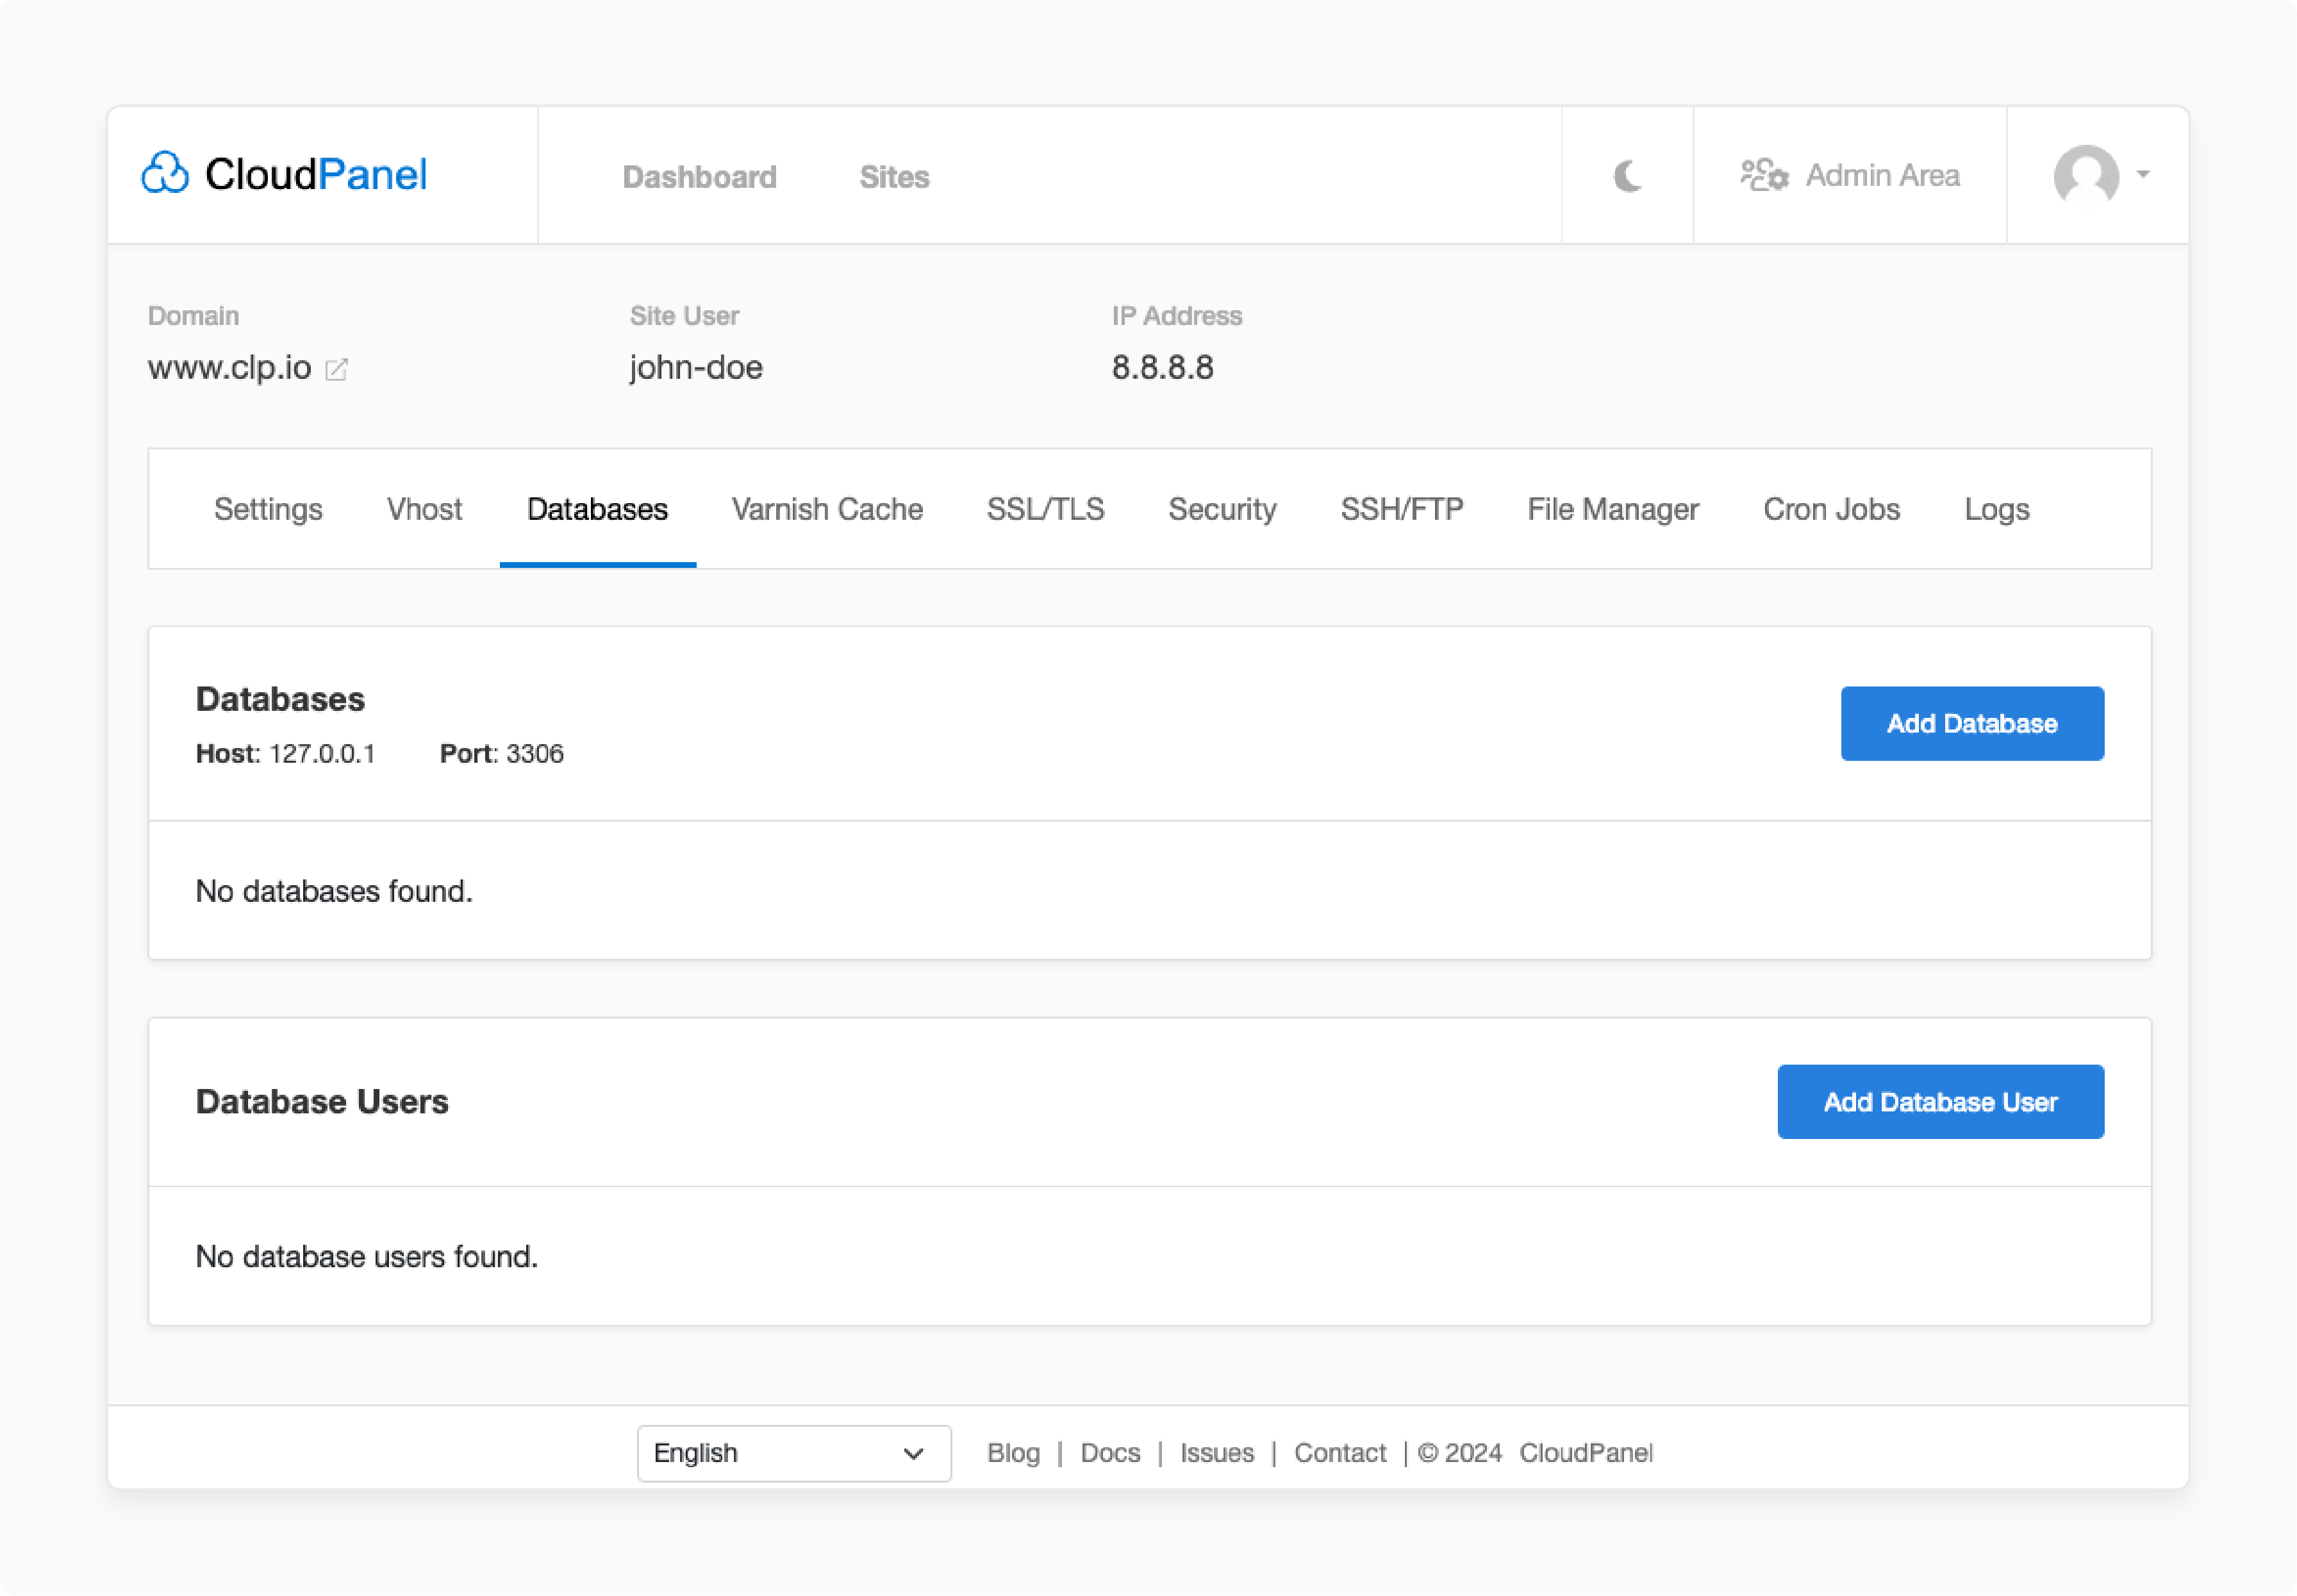
Database Manager: Use this tool to create and control your databases. You can add users, change settings, and keep things running. CloudPanel includes a database manager right in the panel.
-
Domain Pointers: You can point them to the same site if you have many domains. This is useful for branding or redirecting traffic. Servers handle this in the domain settings tab.
-
Website Backups: Create full backups of your website and download them anytime. You can restore your site if something goes wrong. Many panels offer a built-in backup for quick recovery.
-
Scheduled Tasks Manager: Configure tasks without user intervention, such as backups or updates. Users know these as cron jobs. CloudPanel lets you add, edit, and manage scheduled tasks.
-
PHP Manager: You can view your PHP version and switch to another version if needed. This affects speed, compatibility, and security. In CloudPanel, you can change PHP versions.
5. Statistics
- Raw Log Files: These files display all activity on your website. They include visitor data and error reports. You can download them to fix problems or review performance. CloudPanel gives access to logs.
4 Prerequisites for CloudPanel Installation
Before installing CloudPanel, ensure your server meets these requirements:
1. Supported Systems: CloudPanel is compatible with:
-
Debian (12, 11)
-
Ubuntu (24.04 LTS and 22.04 LTS).
These are on x86 and ARM64 architectures.
2. Resources Needed:
-
1 CPU core
-
2 GB RAM
-
10 GB of free disk space
3. Server Access: You need a VPS or cloud server with root SSH access.
4. Domain (Optional): Point your domain to your server’s IP before installing.
4 Steps to Install CloudPanel
Step 1: Connect to Your Server
-
Use an SSH client (like PuTTY or Terminal).
-
Log in to your server as the root user:
ssh root@your_server_ip
(Replace your_server_ip with your server's IP address).
Step 2: Run the Installation Command
-
Ensure to log in via SSH.
-
Execute the command to install CloudPanel:
curl -sSL [https://installer.cloudpanel.io](https://installer.cloudpanel.io) | bash
-
This script handles the setup, including:
-
Stopping services using 80 and 443 ports.
-
Install NGINX, PHP, and Redis
-
Step 3: Let Installation Finish
-
The time depends on the server and internet speed.
-
If you encounter errors, review your setup or consult the CloudPanel documentation.
Step 4: Access CloudPanel
-
Once installed, access CloudPanel through your browser.
-
Go to the URL provided (https://your_server_ip:84430.
-
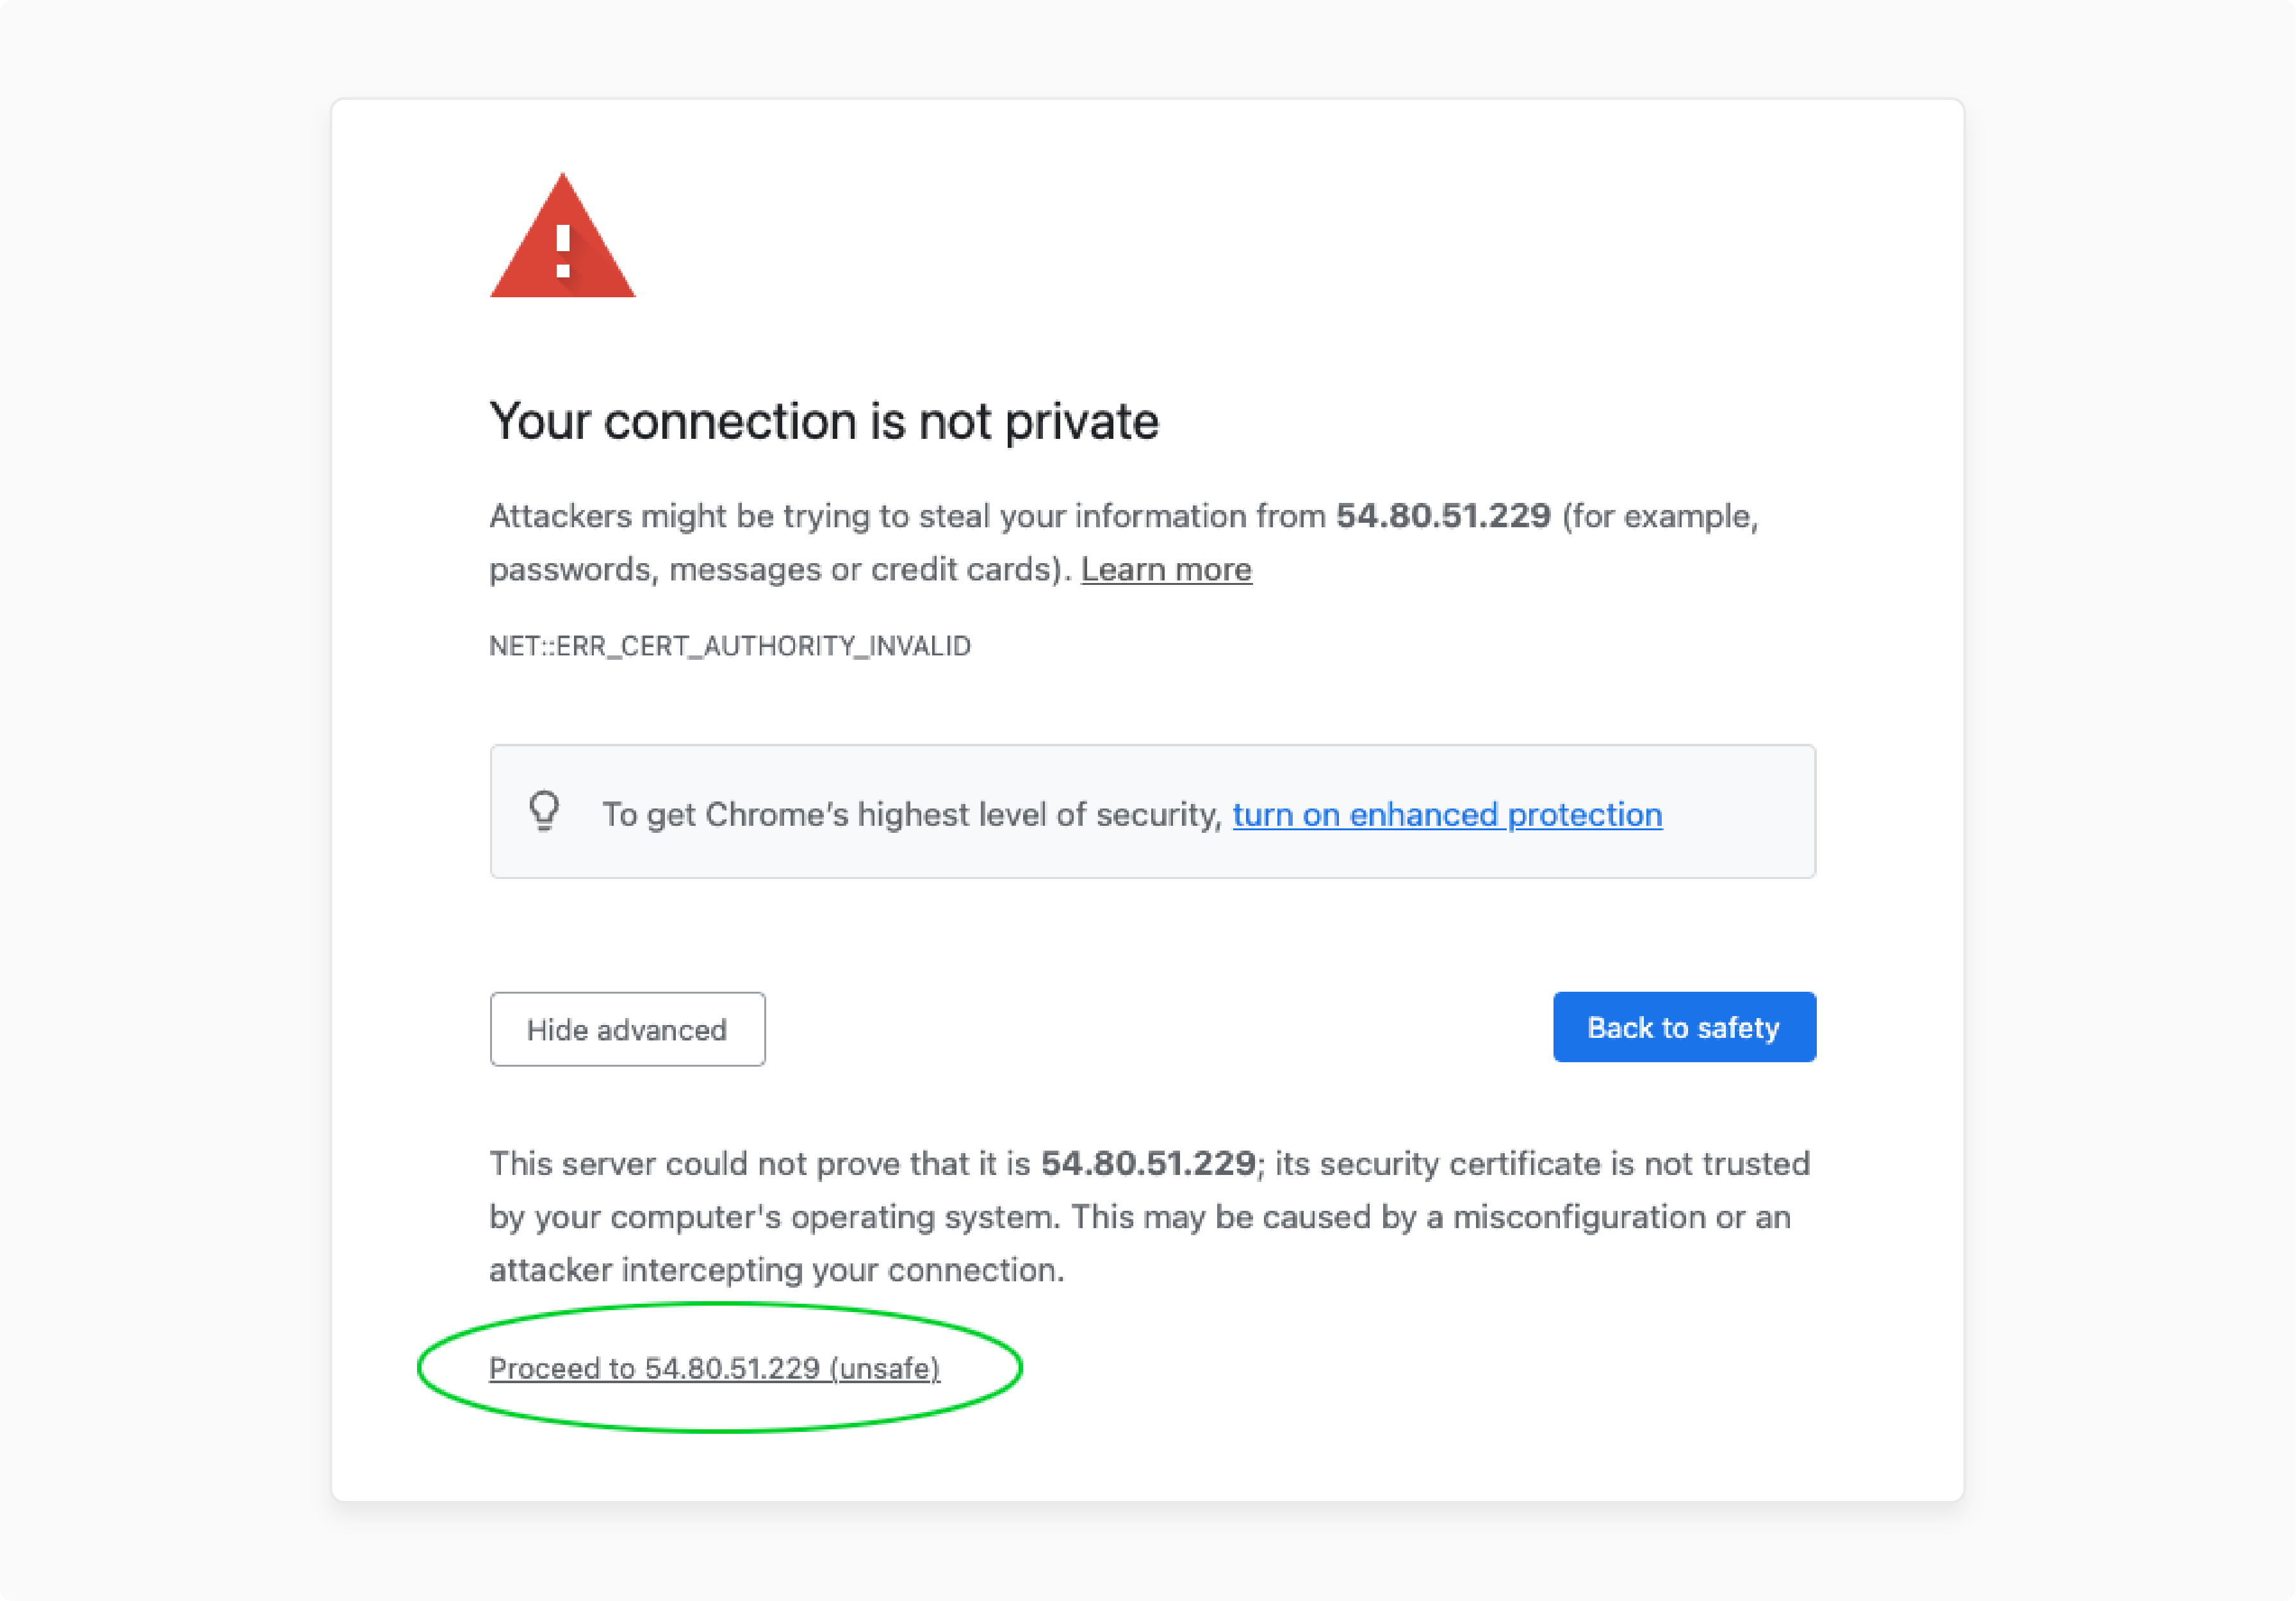
You might see an SSL certificate warning.
-
Proceed by clicking "Advanced" and then "Proceed" (or similar, depending on your browser).
3 Steps for First-Time Users to Set Up in CloudPanel
Step 1: Create Your Account
-
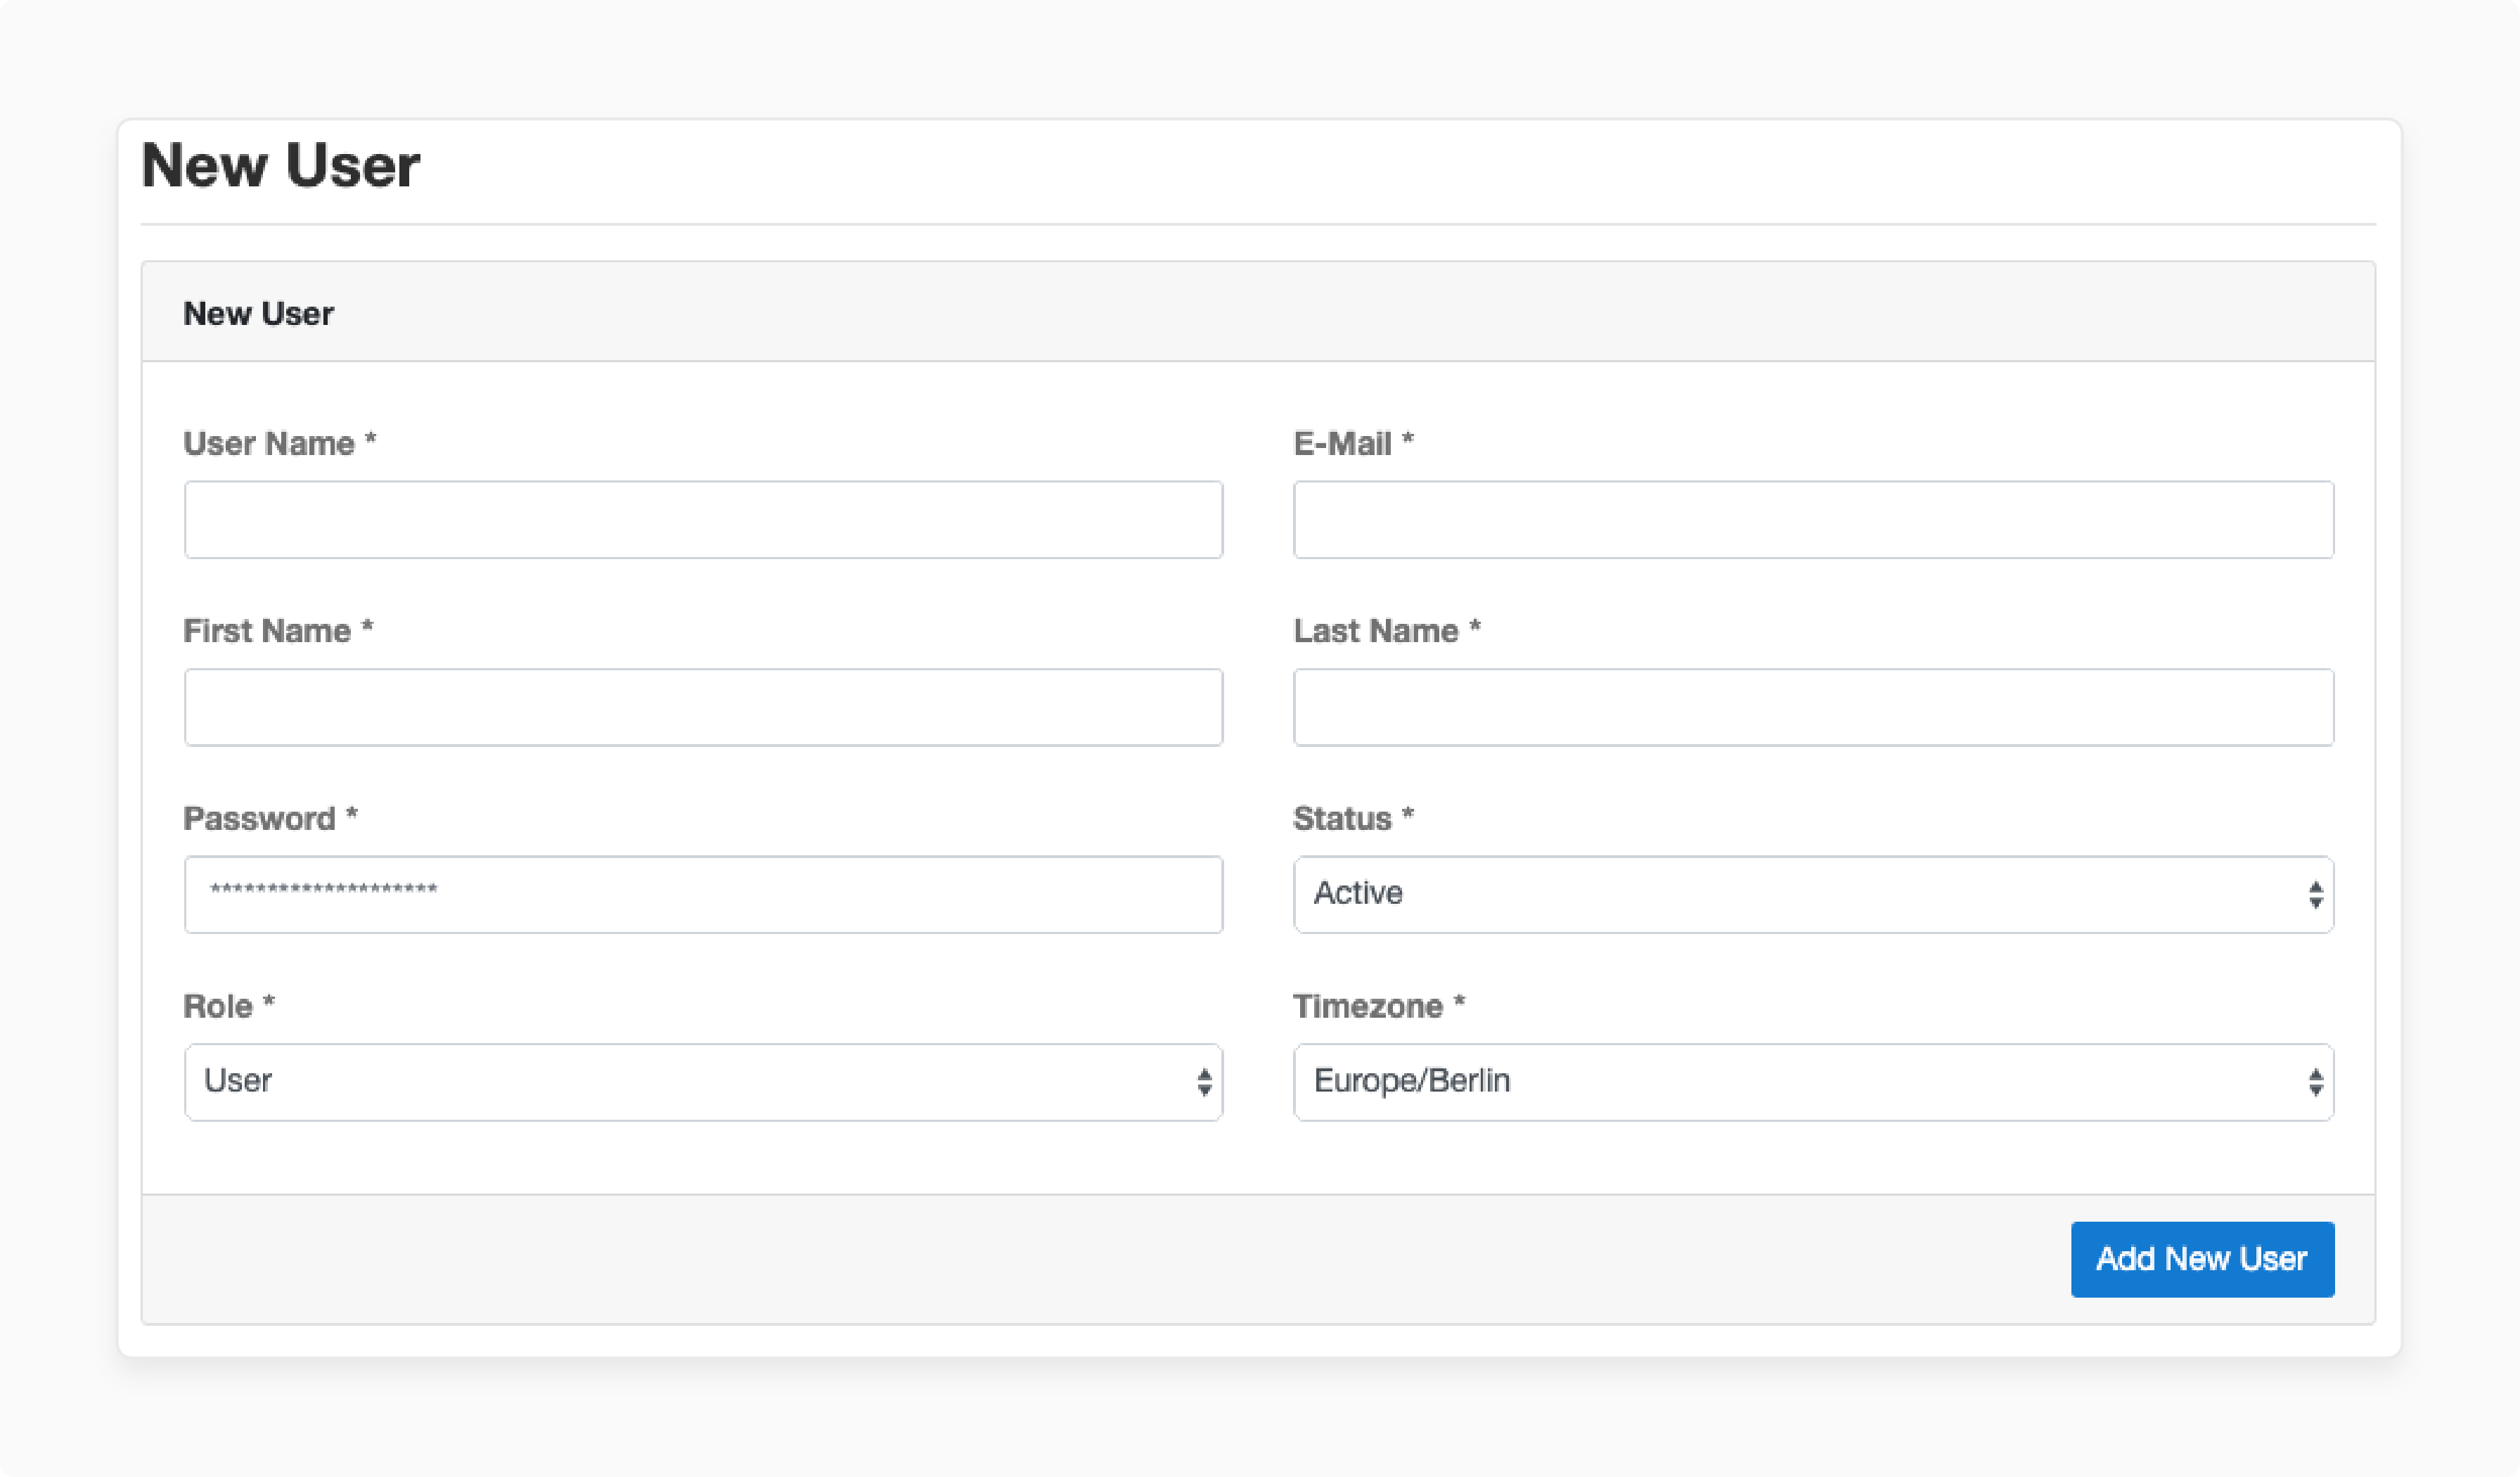
When you open the panel, you will asked to set up an admin account.
-
Enter username, password, and email address.
-
Submit it to create your account.
Step 2: Log In
-
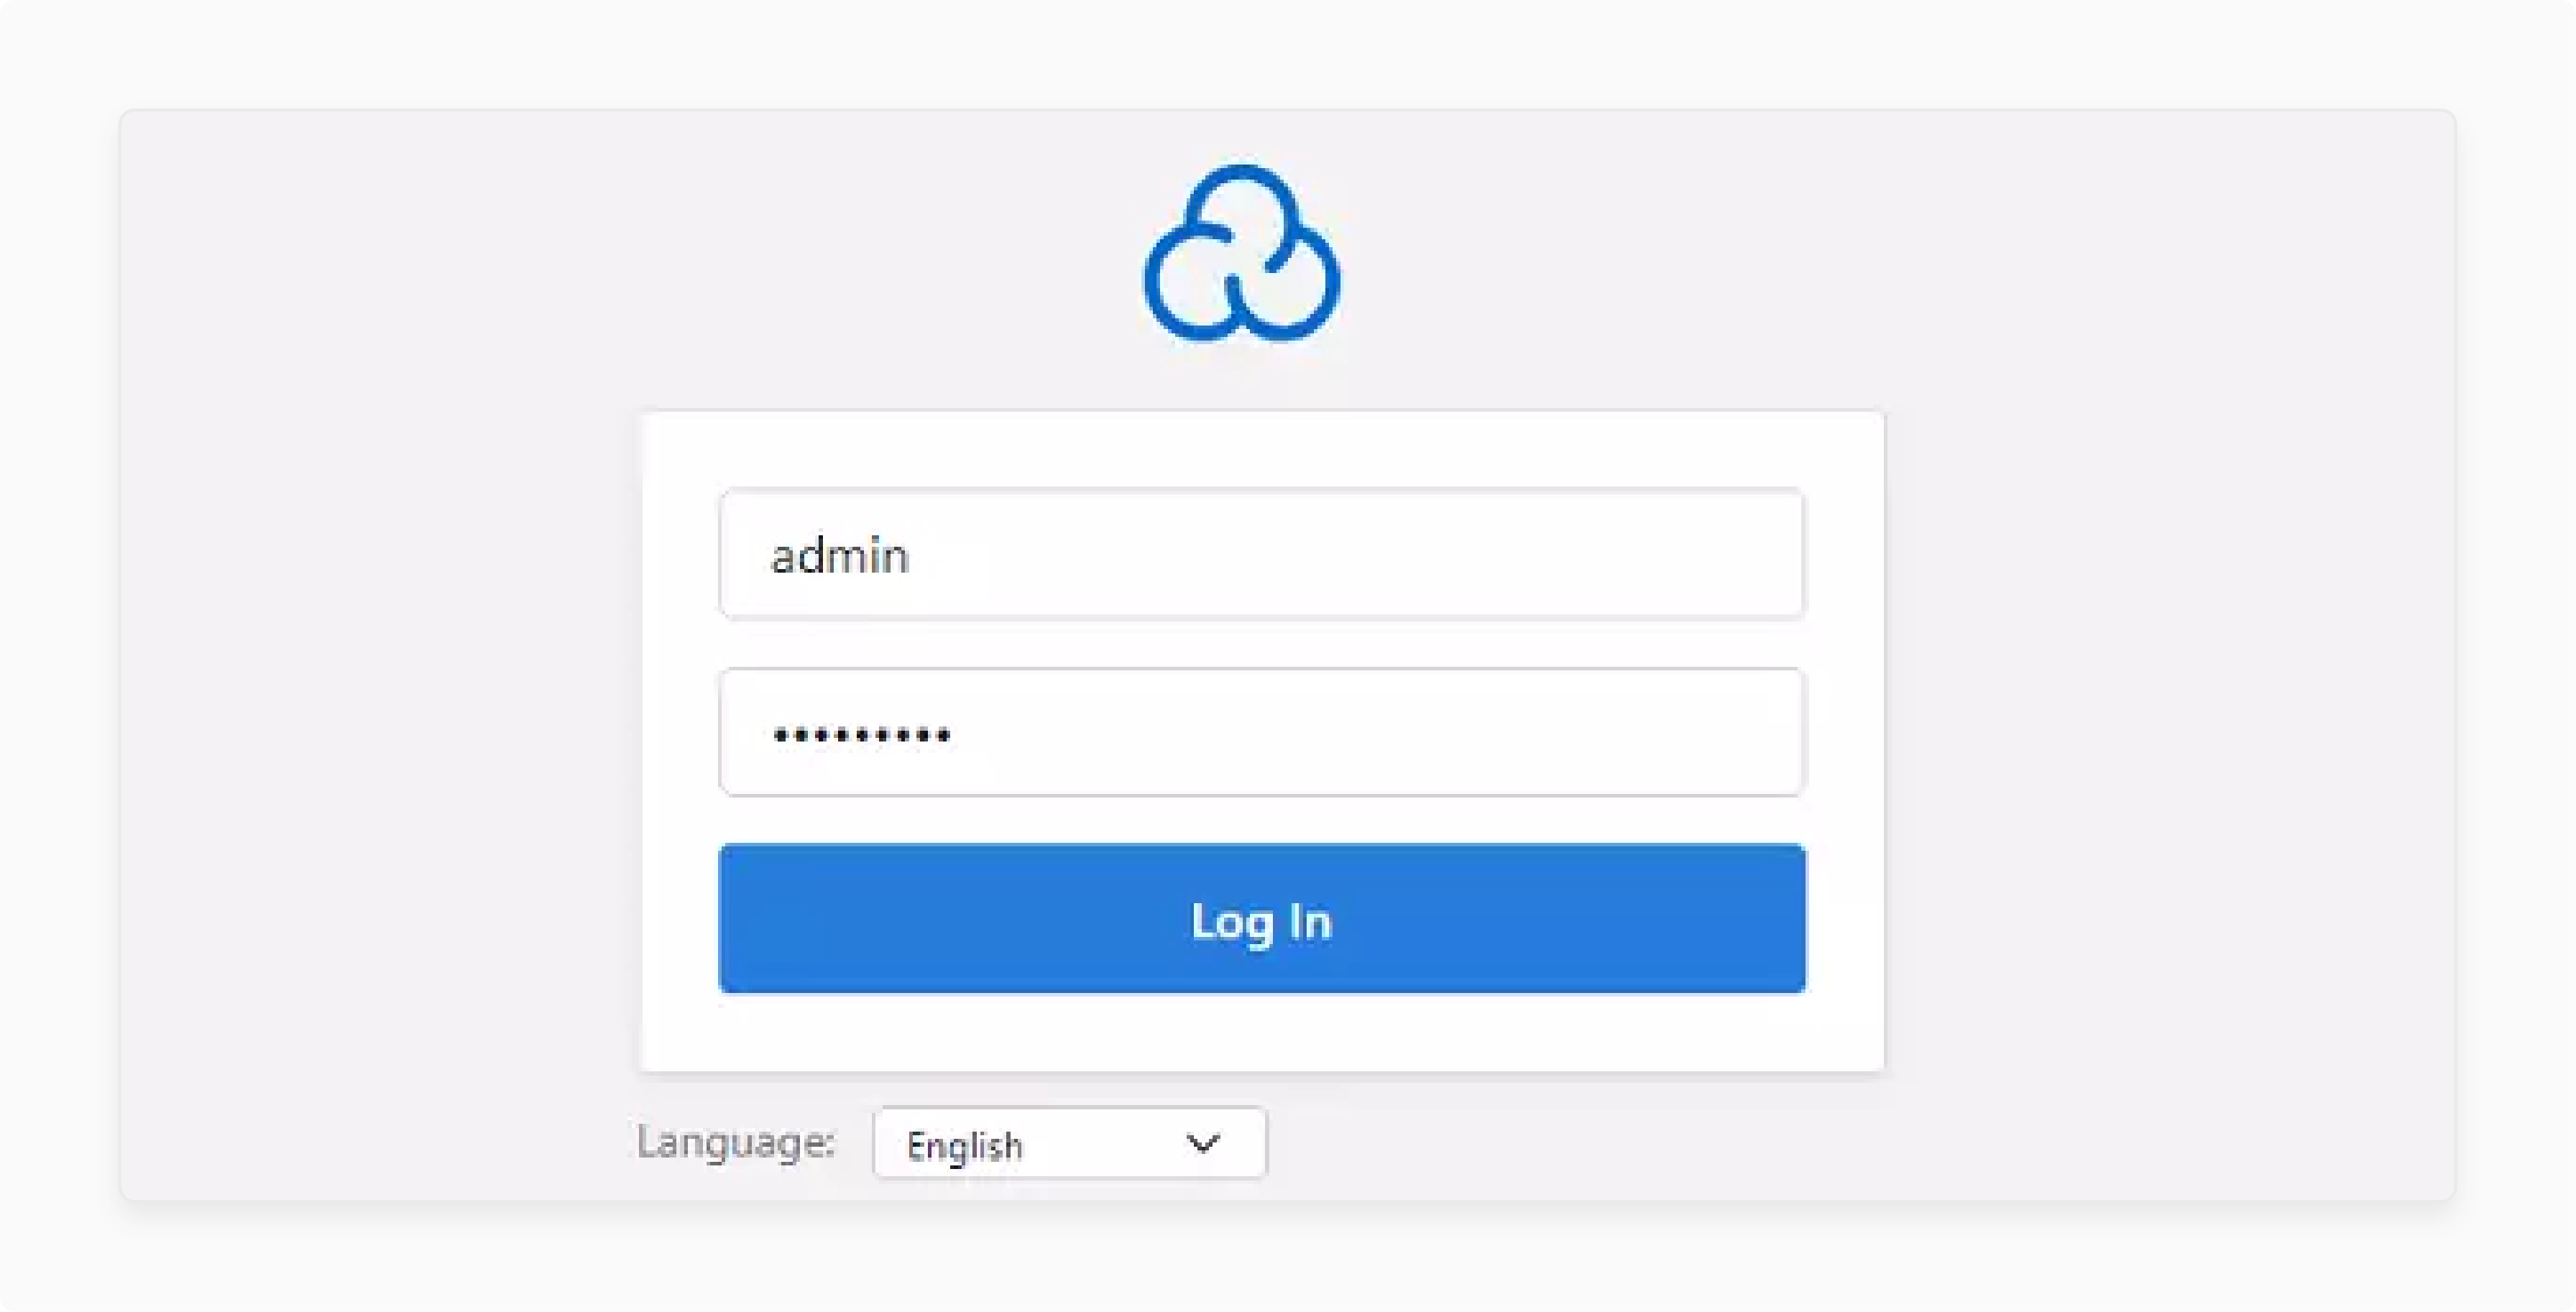
Log in with the account you created.
-
Once you log in, you will see system stats on the dashboard.
Step 3: Turn On Dark Mode (Optional)
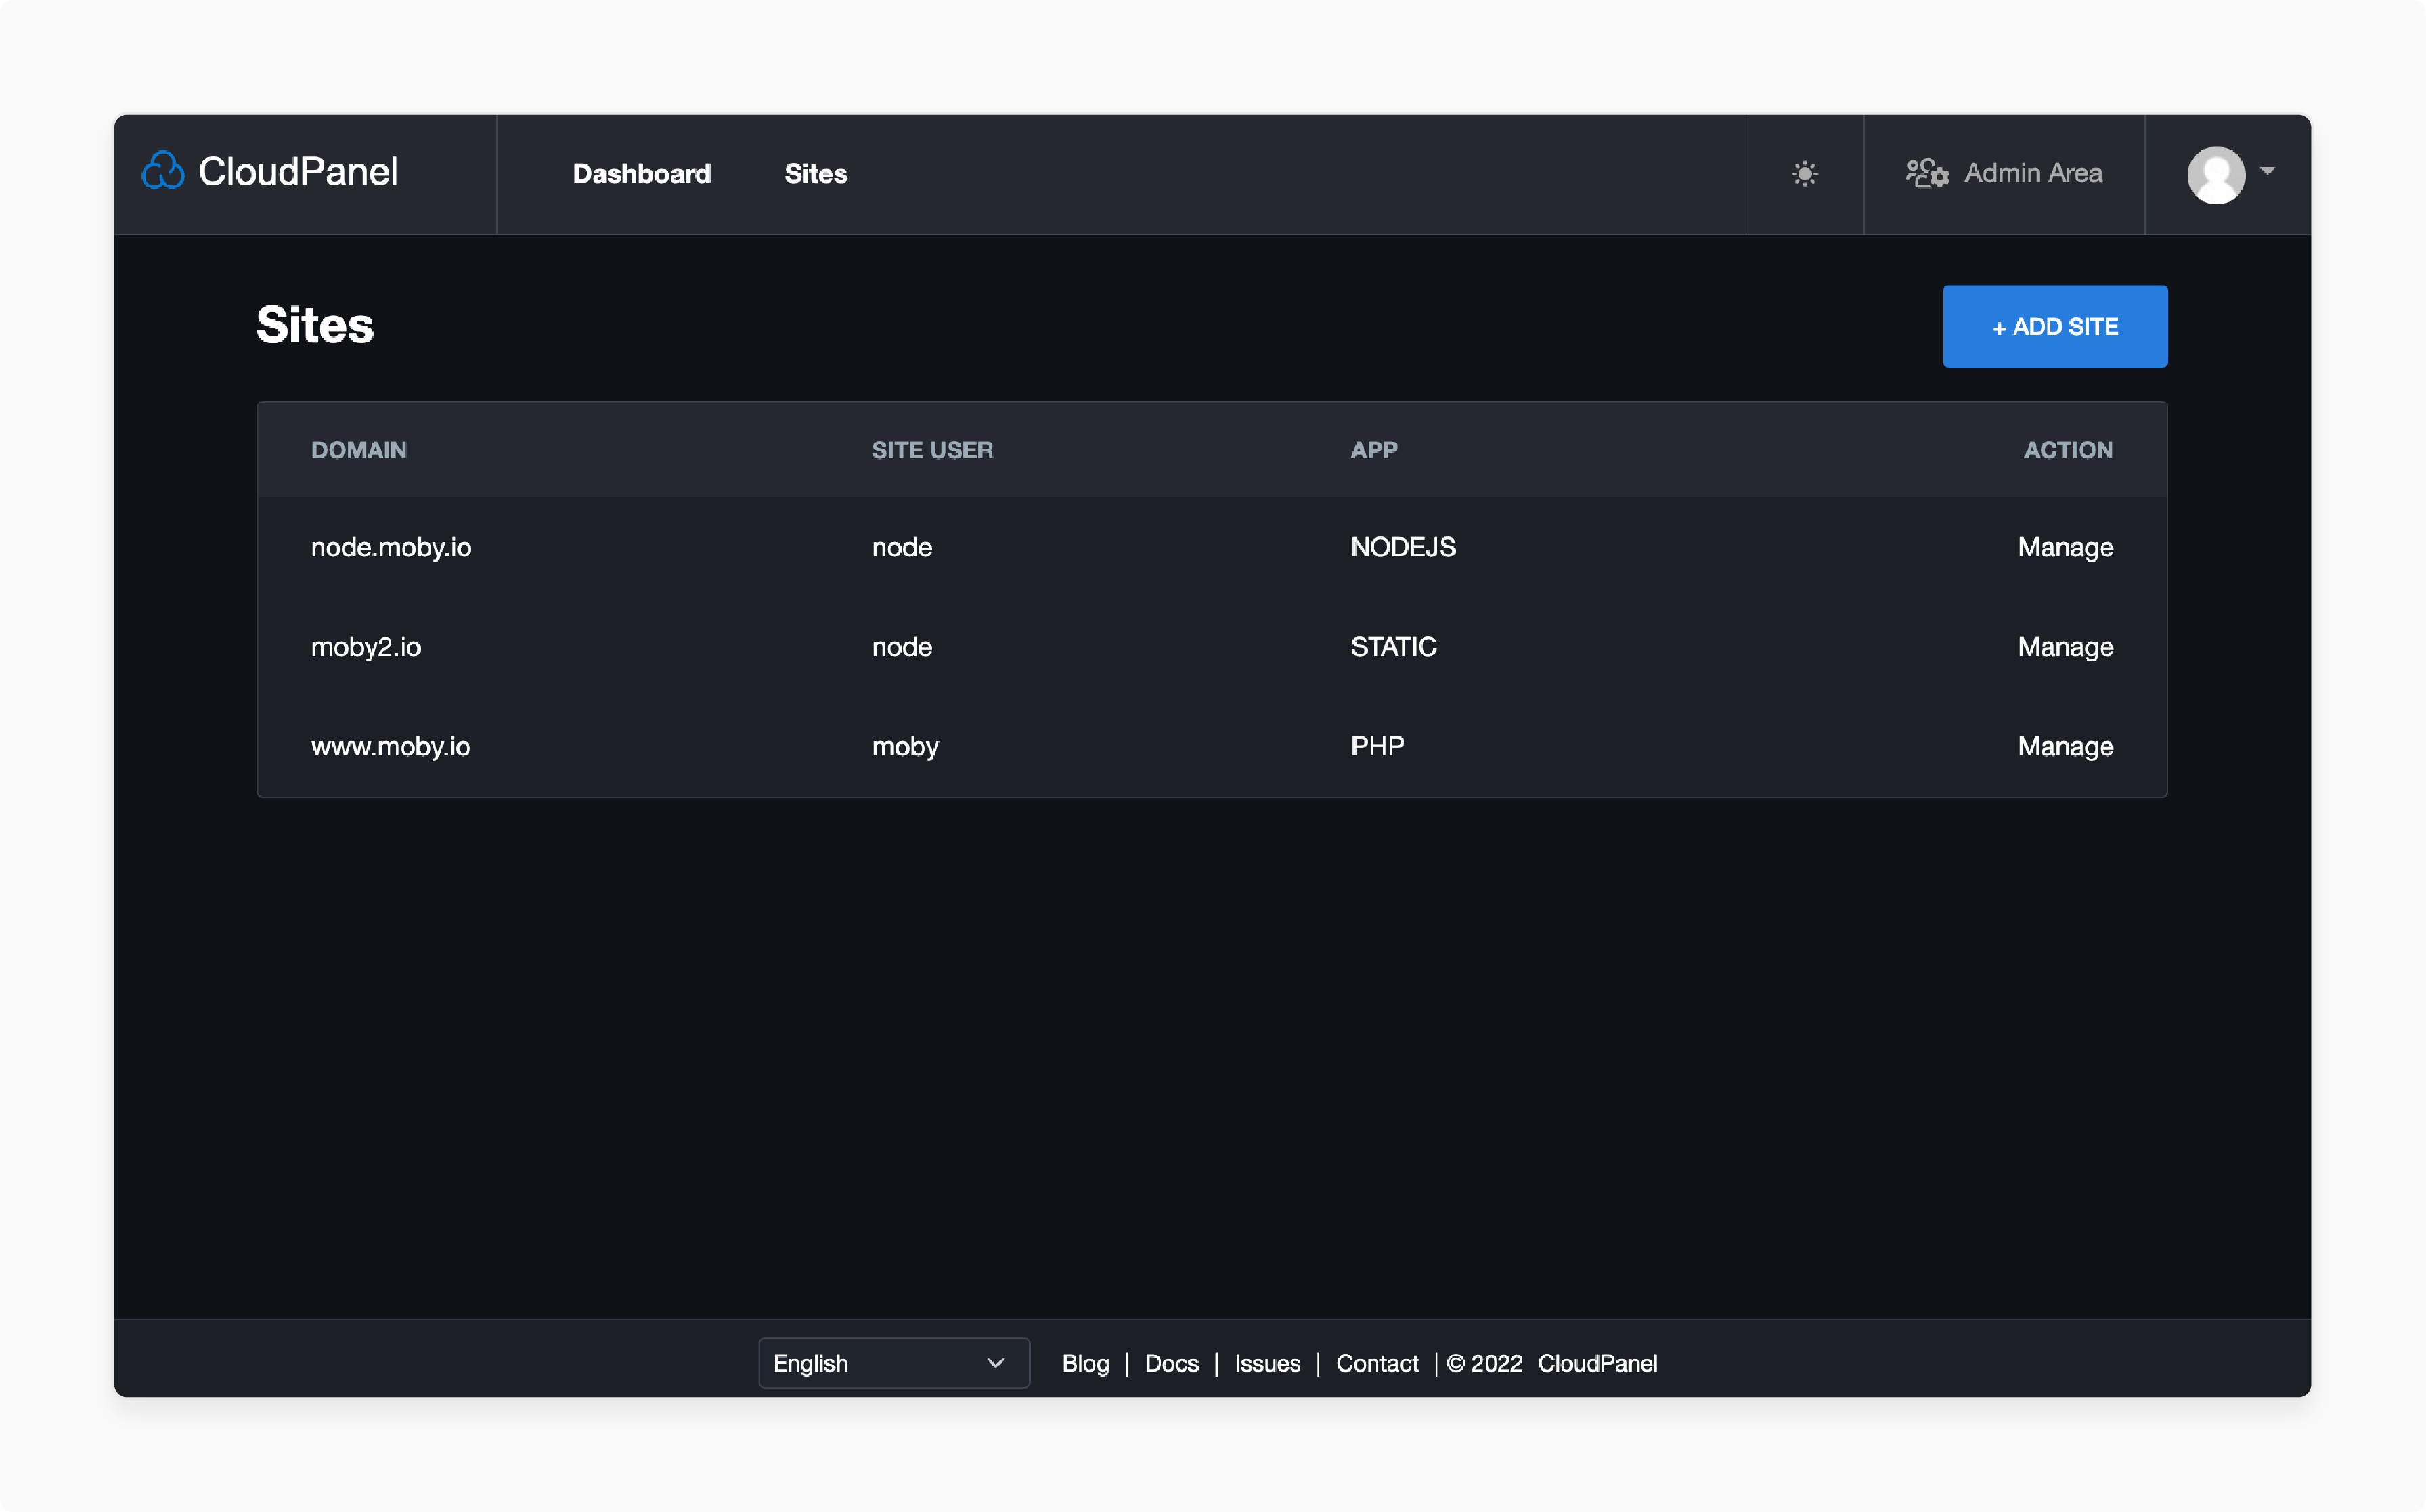
Click the moon icon in the top right corner to switch themes.
3 Things to Know About After Installation in CloudPanel
1. CloudPanel Port: The panel runs on port 8443. Your access URL will look like this:
https://your_server_ip:8443.
2. SSL Certificate: A self-signed certificate comes preloaded by default. You can add a Let’s Encrypt SSL through the settings panel for live sites.
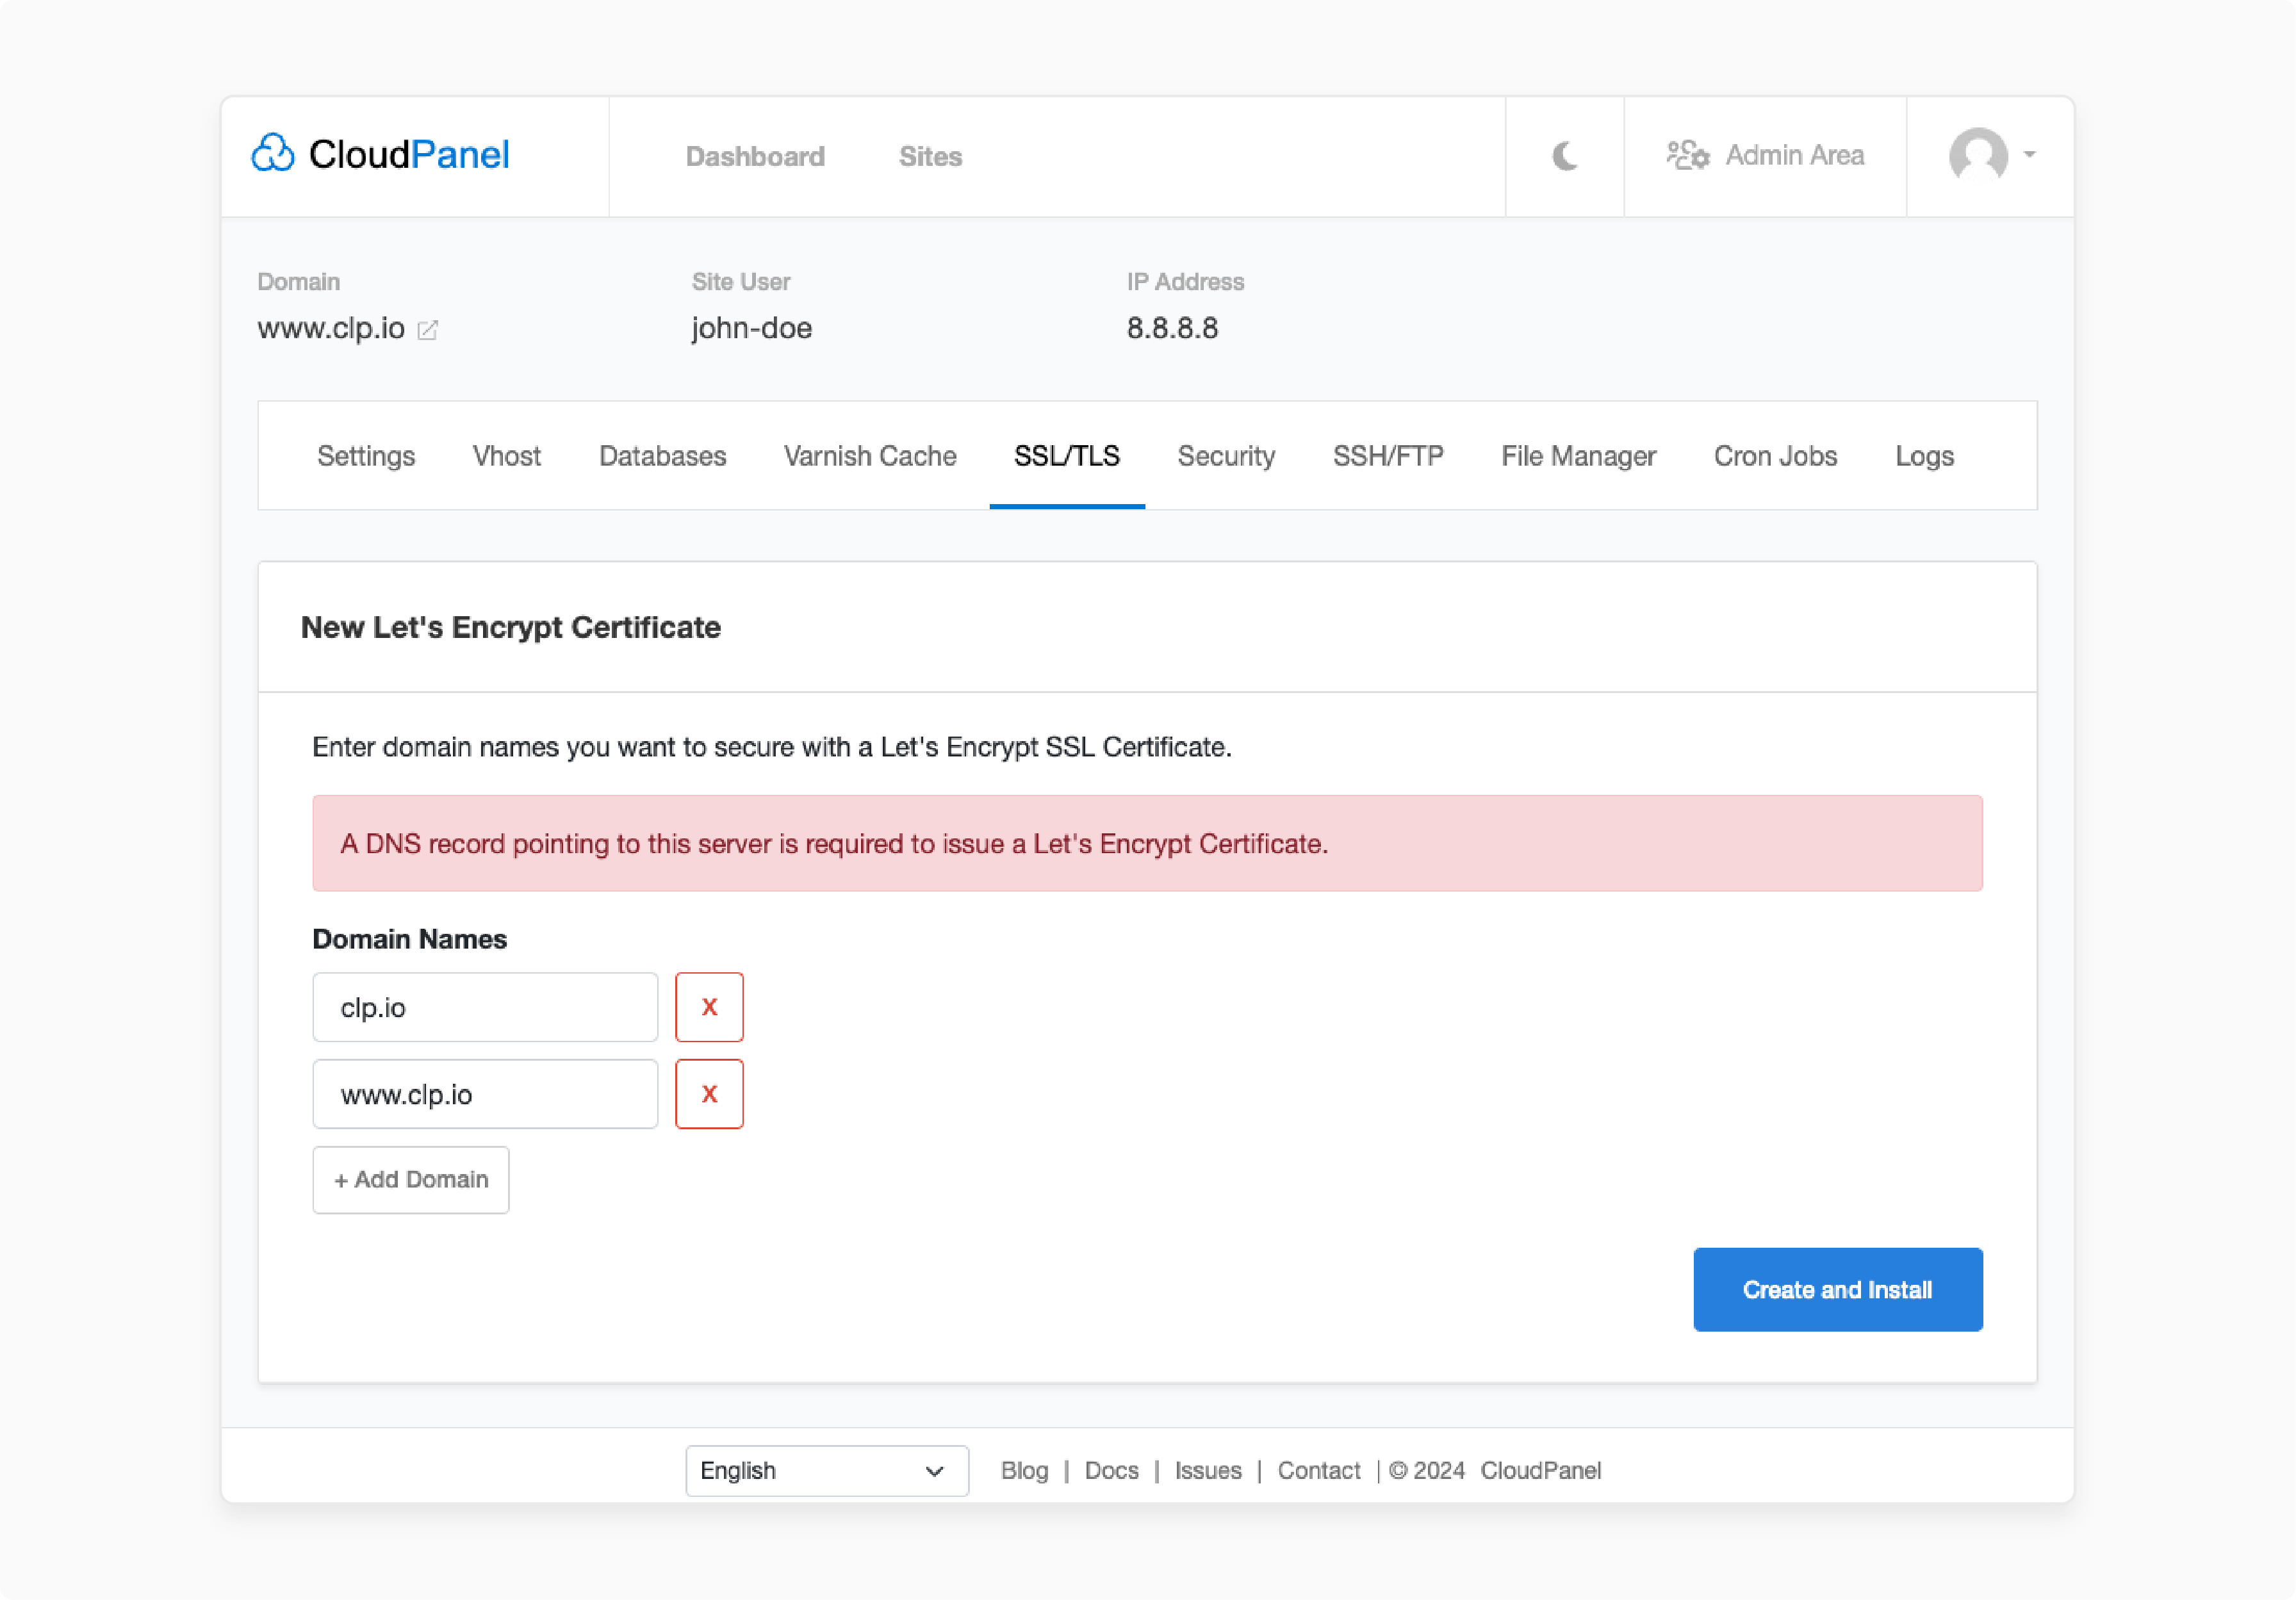
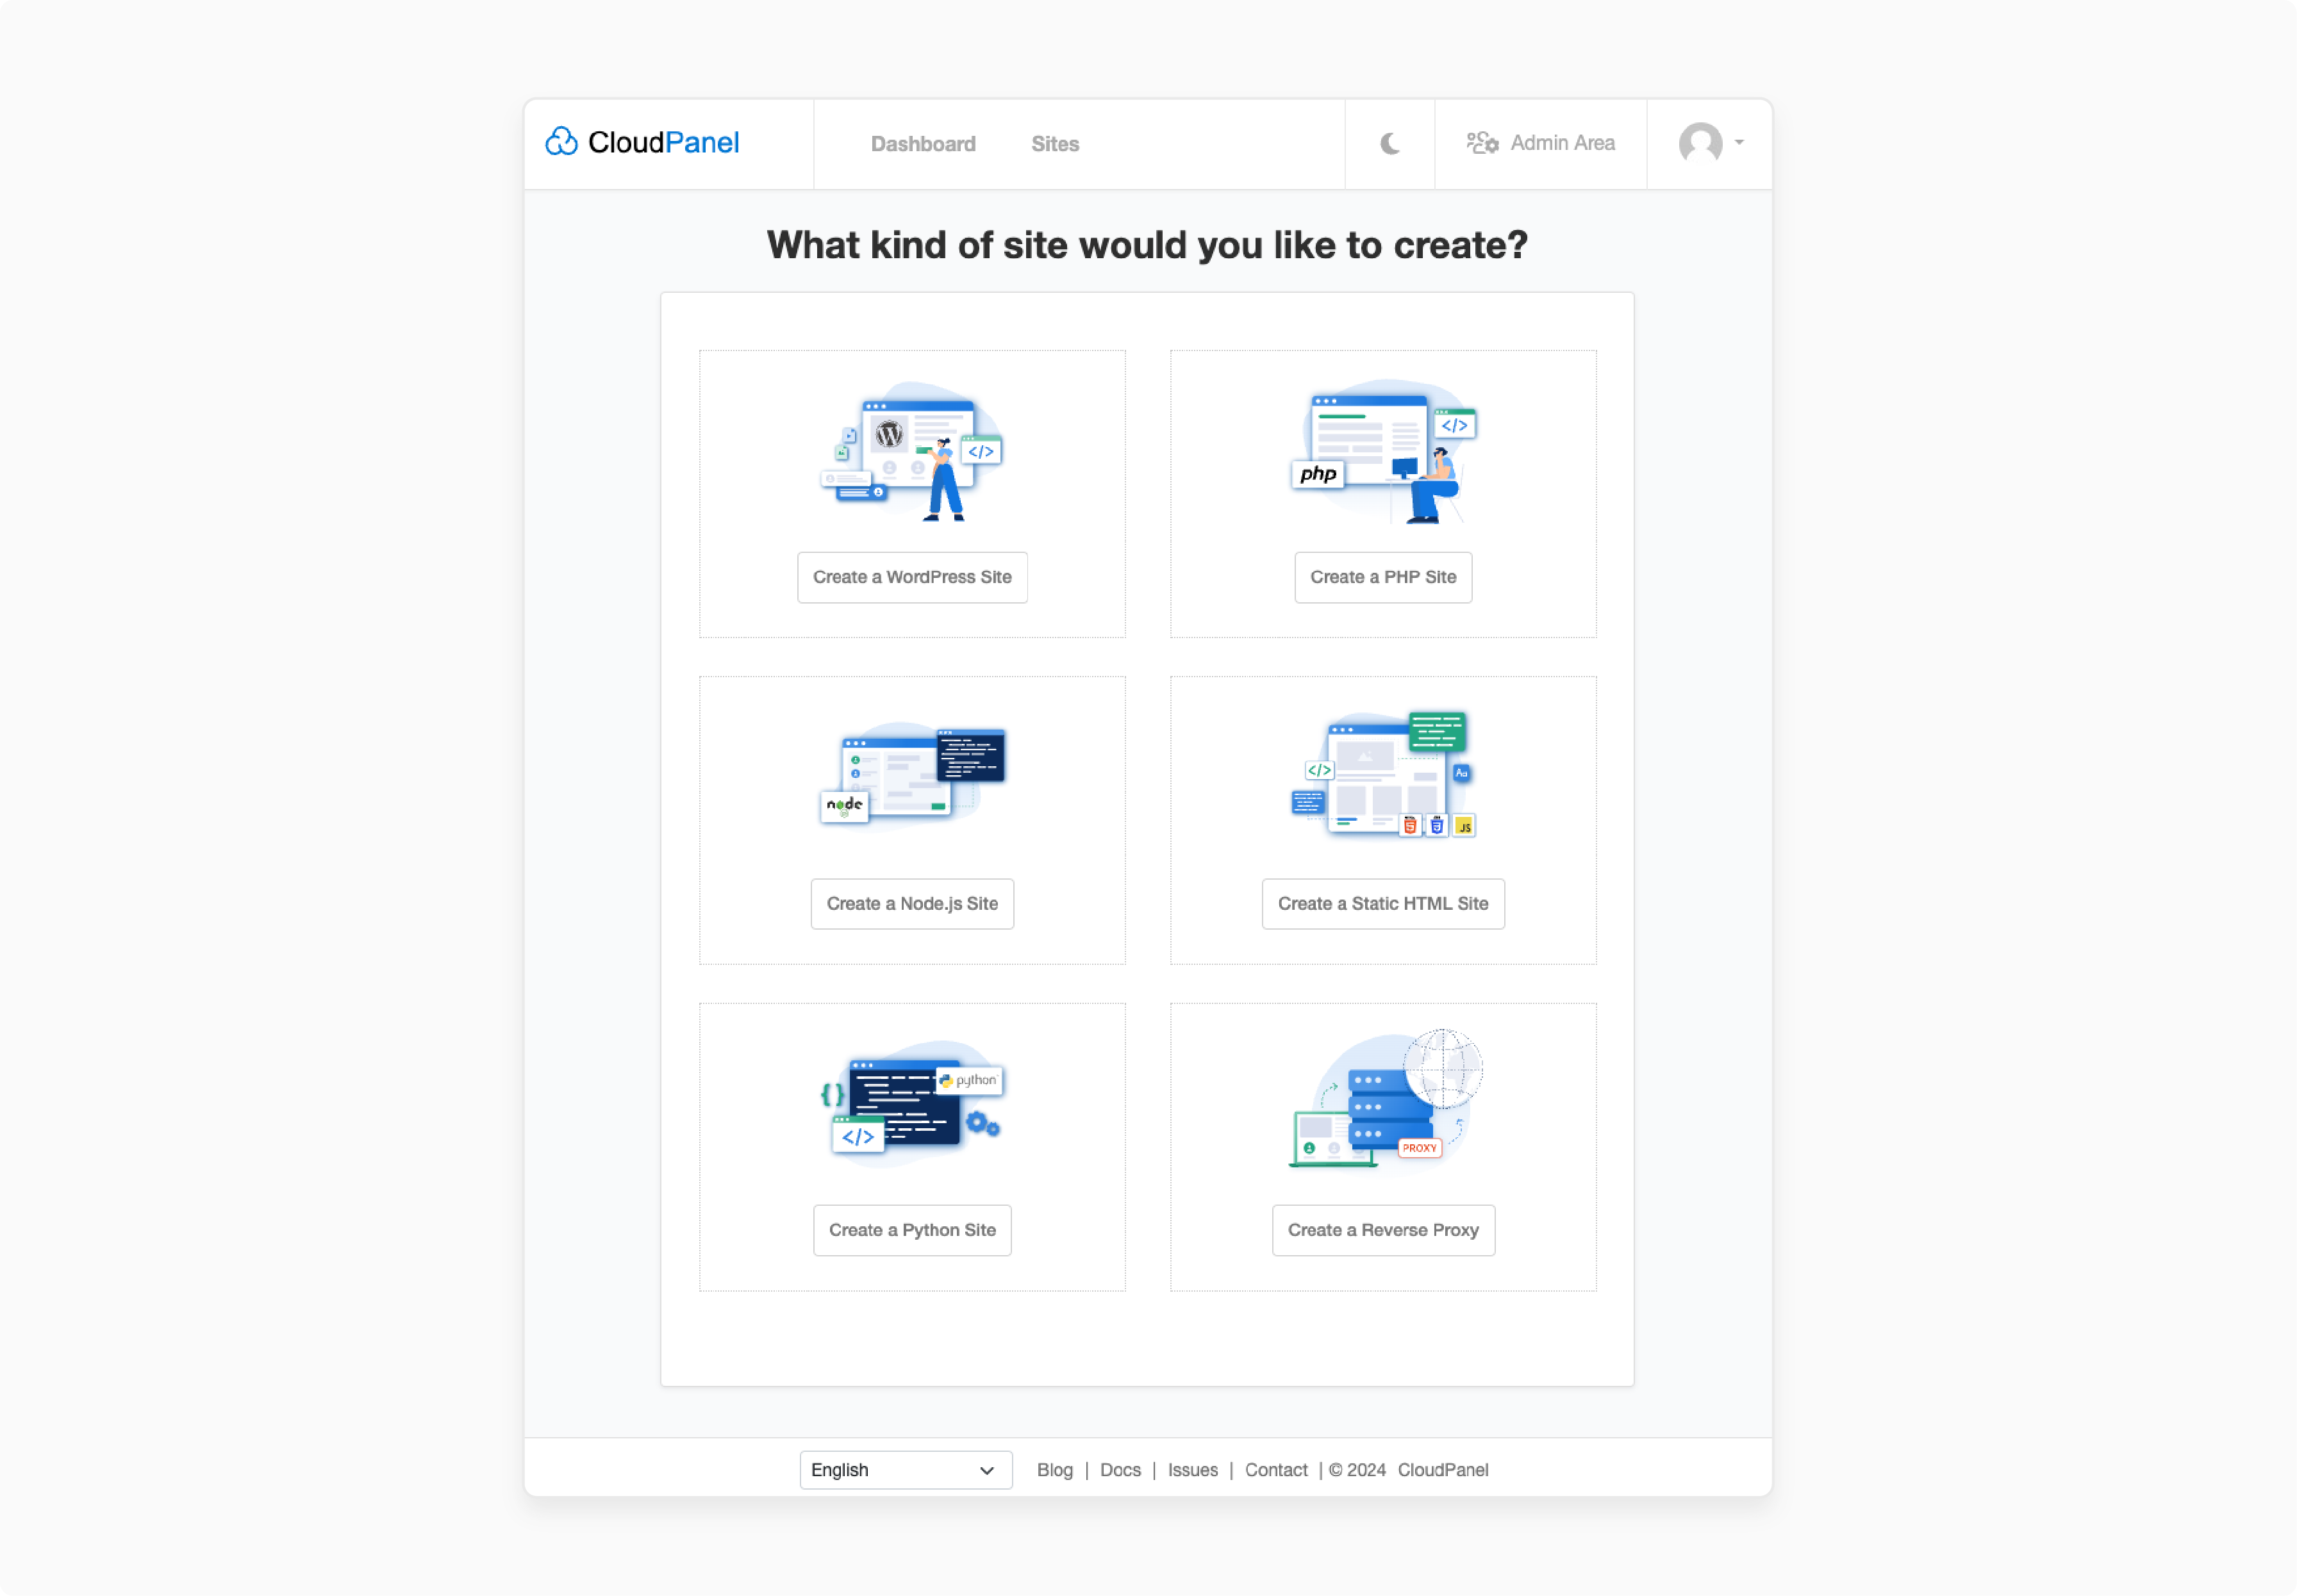
3. Next Steps: From the dashboard, you can:
- Add websites (WordPress, PHP apps, or static HTML).
- Create and manage databases.
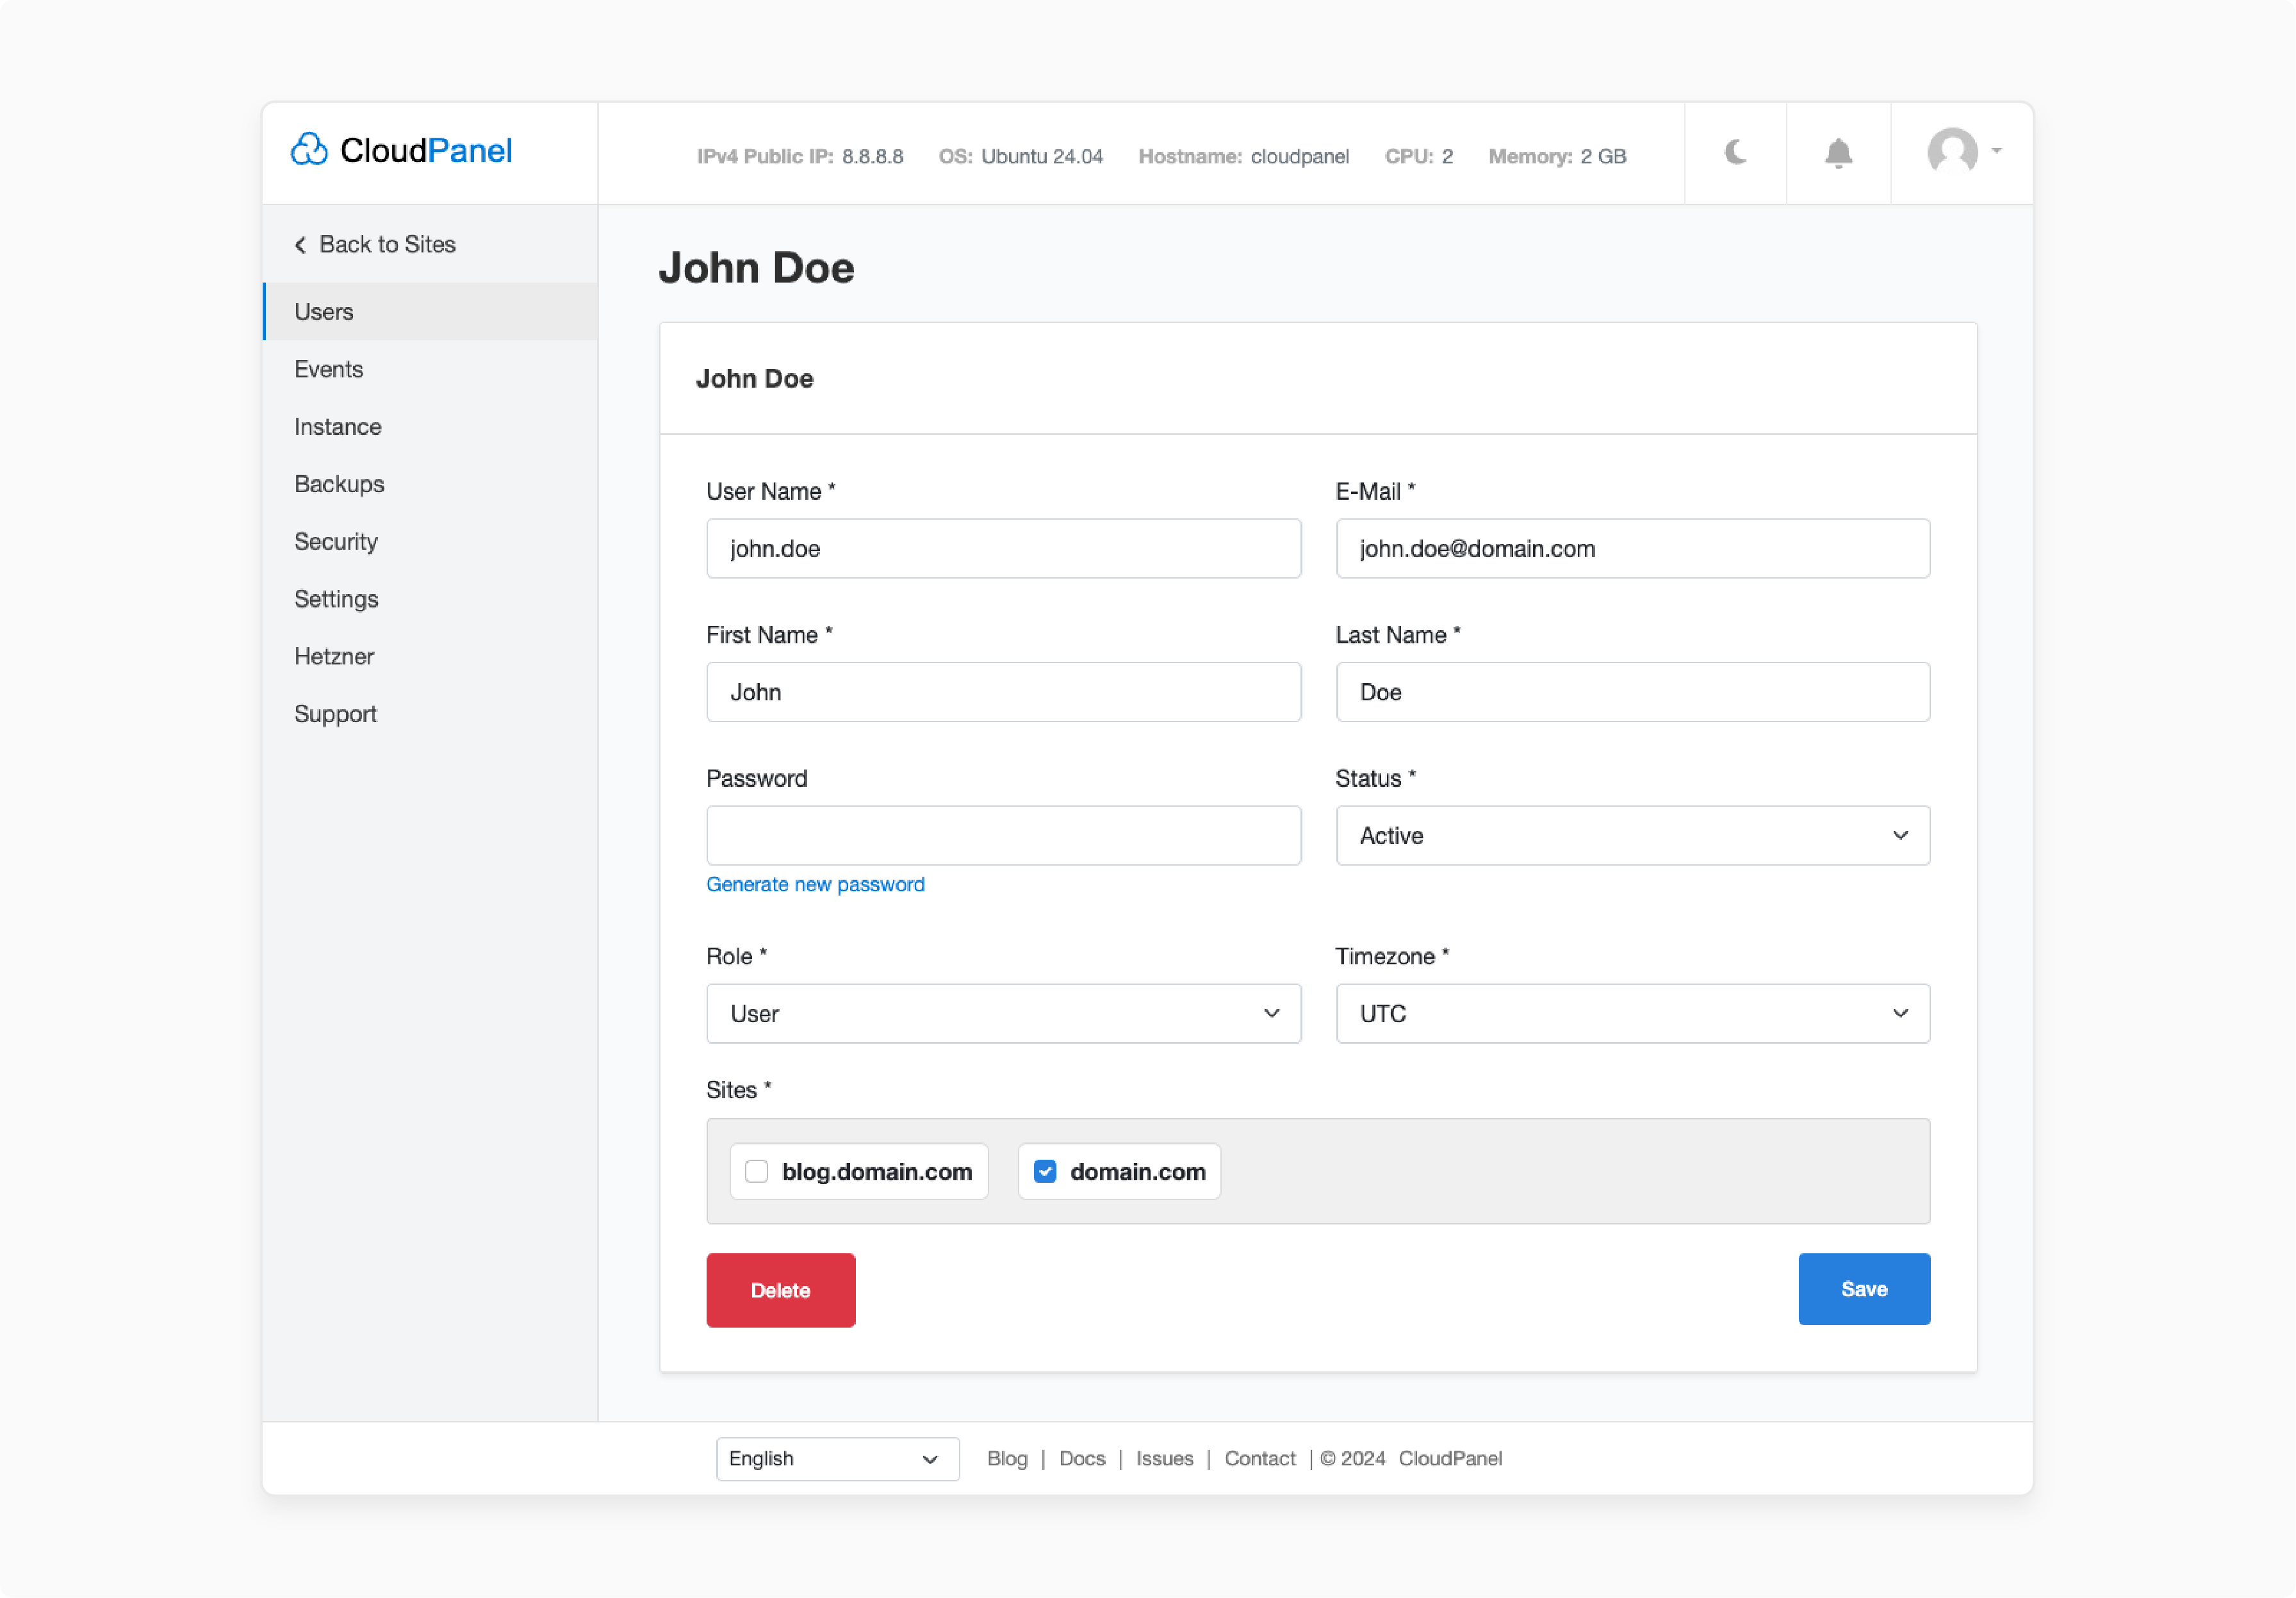
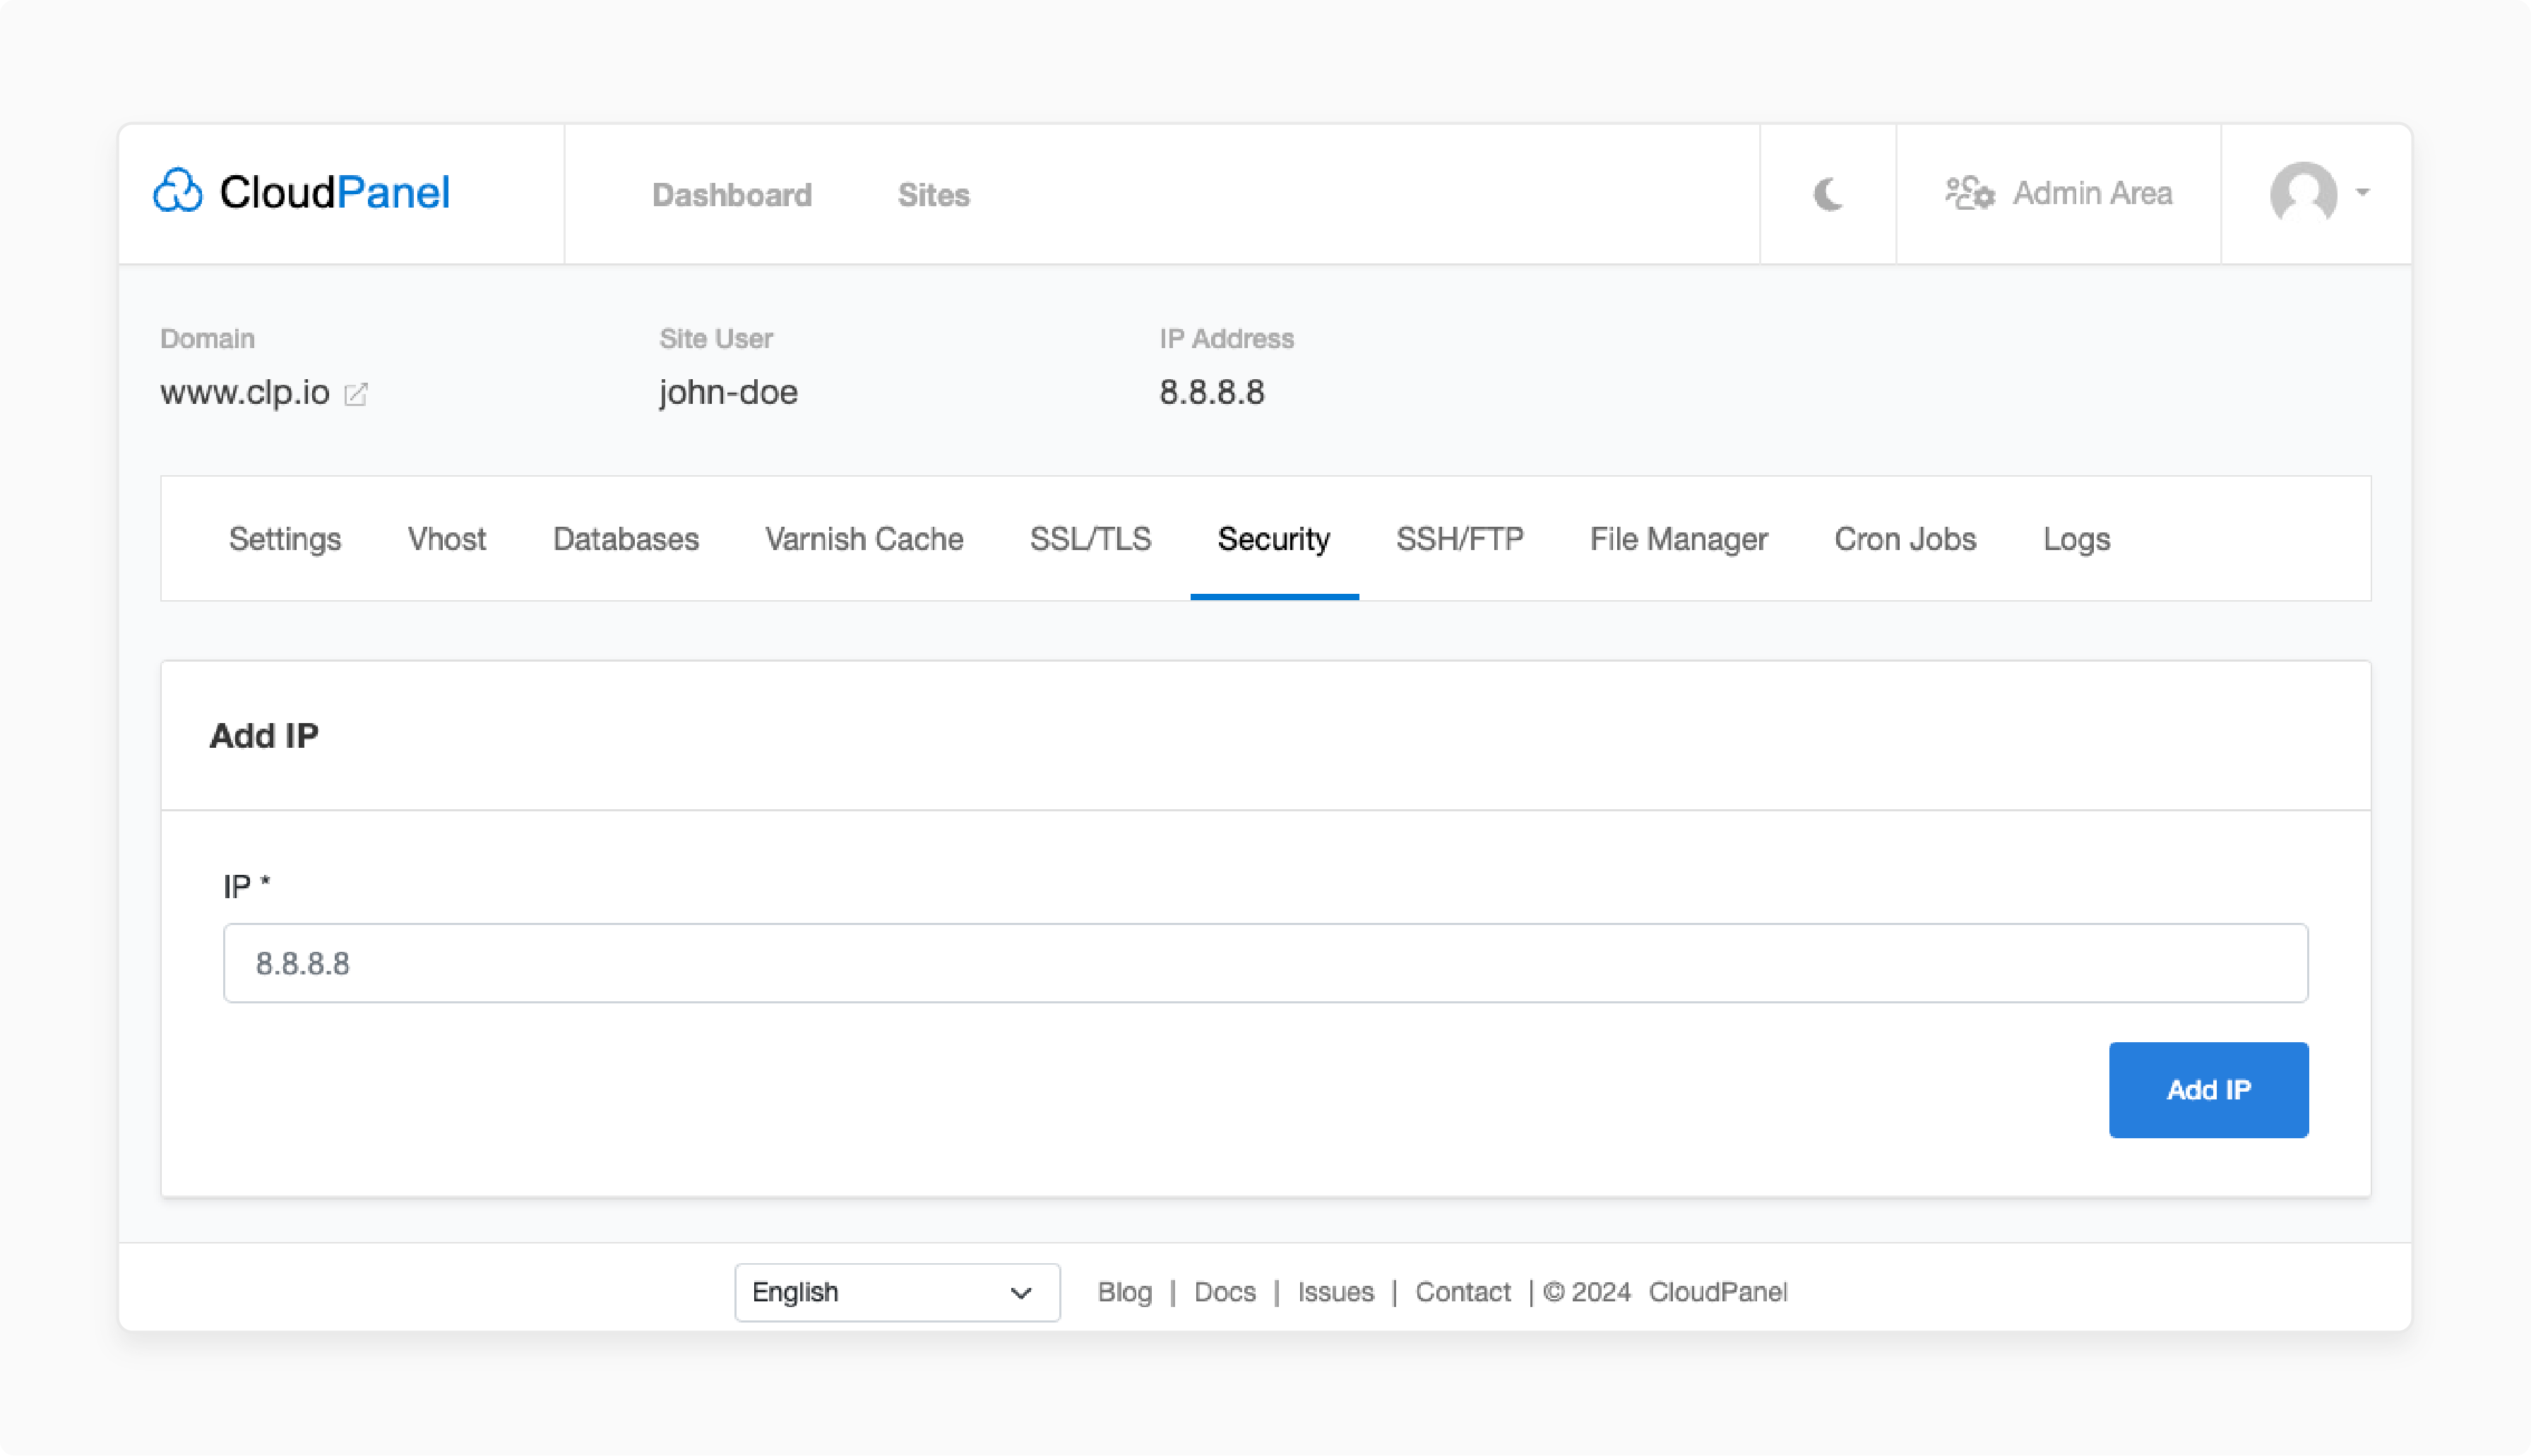
- Set up users and fine-tune security.
6 Tips for First-Time Control Panel Users
1. Locate Your Control Panel
Your hosting provider usually sends a welcome email. This email includes your control panel:
-
Login link
-
Username
-
Password.
The link might resemble https://yourdomain.com:8443. If you cannot find the email, check your provider's dashboard.
2. Take a Look Around the Interface
After you log in, spend a few minutes getting to know the dashboard. Common sections include:
-
Files
-
Domains
-
Email
-
Databases.
Many panels offer tooltips or tutorials. You can track server resources like CPU, memory, and disk usage.
3. Begin with Essential Tasks
Add domains or subdomains first. Then, manage DNS records. Finally, upload files using the File Manager. You can create email accounts and use one-click installers for apps like WordPress.
4. Save Time with Automation
Use automation features to save time. Schedule backups to protect your data and set up cron jobs for automated tasks.
5. Enhance Security
Add an SSL certificate to secure your website. Enabling two-factor authentication on your panel account is a good idea. Conduct routine reviews of logs for suspicious activity.
6. Troubleshoot Issues
If you cannot open your panel, below are the things to try:
-
Make sure ports like 2083 or 8443 are open in your firewall.
-
Clear your website’s cache and try again.
-
Contact the hosting provider's support if you face any issues.
Troubleshooting Tips to Consider for Users
1. If Installation Fails: Other services might be blocking ports. Run these to stop them:
`systemctl stop apache2
systemctl stop nginx.`
2. If the URL Does Not Load: Your firewall might be blocking access. Allow port 8443 with:
ufw allow 8443.
3. Removing CloudPanel: There is no built-in uninstaller.
-
To remove it, delete the packages and files.
-
For detailed instructions, you can refer to the community forums.
FAQs
1. What does a web panel do?
A web hosting panel is a control center. It handles your website and hosting settings. You can upload files, add domains, create emails, and handle backups. Everything runs in your browser—no extra software needed. It makes website tasks quick and easy.
2. How do I find the control panel after signing up?
Most hosting companies send a welcome email with your login link. This email includes the control panel URL and your login details. You click the link and sign in from your browser. Keep that email safe for future use.
3. Why does the panel link have numbers like 2083 or 8443?
These numbers are ports designed to load the panel in a secure manner. They help your browser connect to the right tool on the server. It’s normal to see them in the link. There is no need to change or remove them.
4. Does every hosting plan come with a control panel?
Shared hosting usually includes one by default. VPS and dedicated servers may not have one pre-installed. You should choose and install it yourself. Check your plan details before signing up.
5. Do I need to install the control panel myself?
If you have shared hosting, it’s already set up. For VPS or cloud servers, you may need to install one. Some panels offer quick setups with simple steps. Check that your server meets the system requirements.
Summary
The web hosting control panel lets you handle website and server settings. Users can find a link to it in the provider's welcome email. They can click on the link to access the control panel. Consider the following to look for inside the panel:
-
Security: You can set up passwords for certain folders. Only users with the correct login will be able to access them.
-
FTP & Content Publishing: Manage FTP accounts to upload files. Also, fix any file permission issues.
-
Configurations: Manage databases and domains for one site and back up your website.
Looking for a web hosting panel? Try CloudPanel Free Hosting and manage your server settings with a panel.

