OwnCloud
On this site, you find a guide to install ownCloud on CloudPanel.
Creating a OwnCloud Site
Via CloudPanel
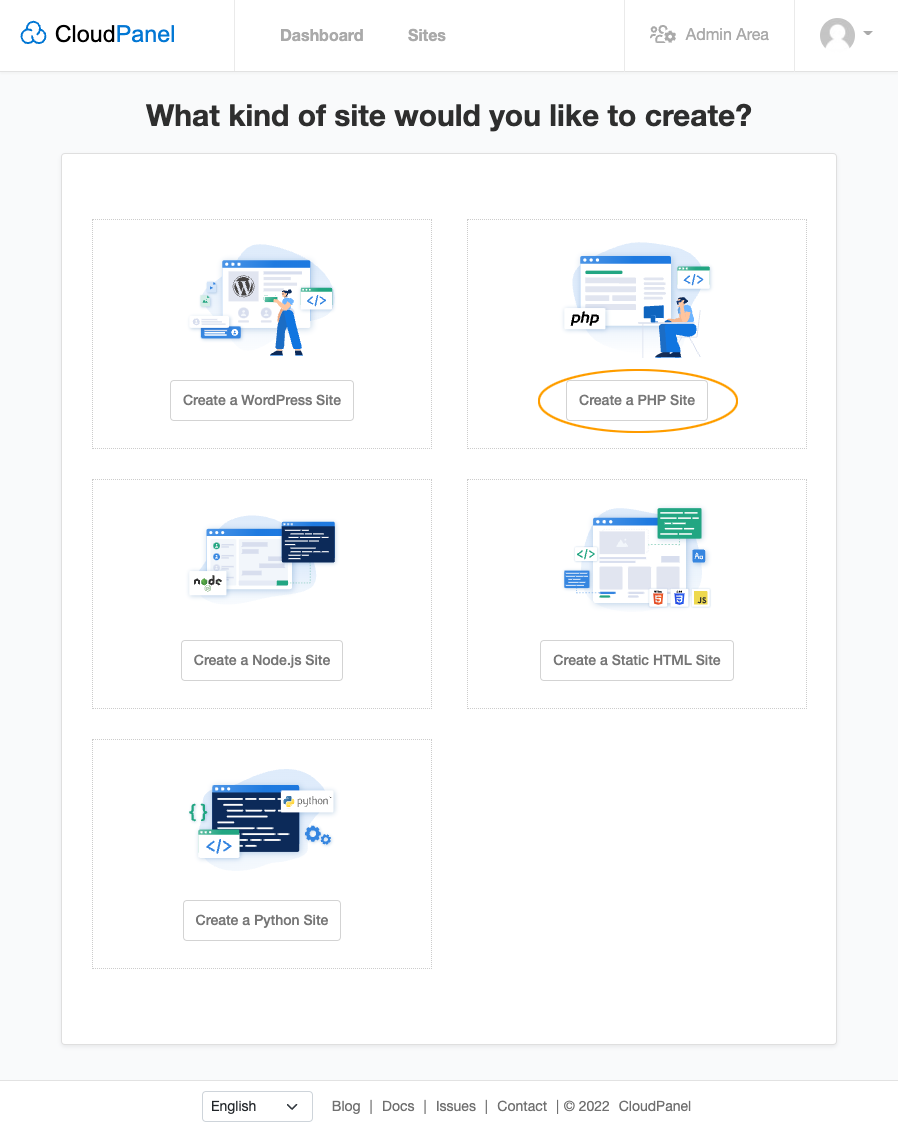
- Click on + Add Site and then click on Create a PHP Site.
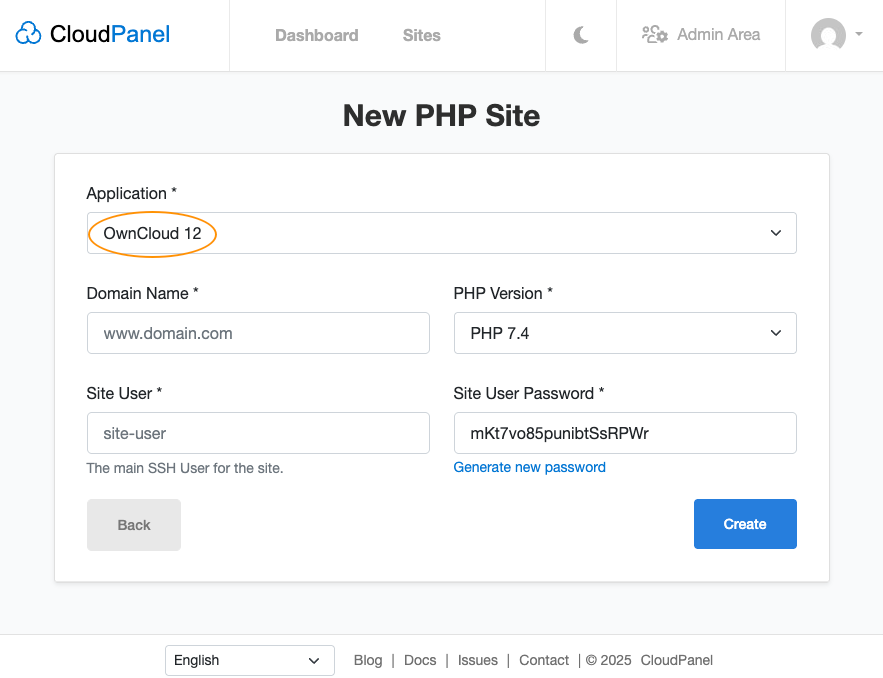
- Select the Application OwnCloud 10, enter Domain Name, Site User, Site User Password, and click on Create.
Via CloudPanel CLI
If you like the command line, you can create a OwnCloud Site with the following command as root user.
clpctl site:add:php --domainName=www.domain.com --phpVersion=7.4 --vhostTemplate='OwnCloud 12' --siteUser='john-doe' --siteUserPassword='!secretPassword!'
Creating a OwnCloud Project
- Log in via SSH with the Site User:
ssh john-doe@server-ip-address
- Go to the tmp directory:
cd ~/tmp
- Download and extract the latest OwnCloud version.
curl -sL https://download.owncloud.com/server/stable/owncloud-complete-latest.tar.bz2 | tar xfj -
- Copy files to the root directory of your site:
cp -R owncloud/* ~/htdocs/www.domain.com/
- Clean up the tmp directory.
rm -rf ~/tmp/*
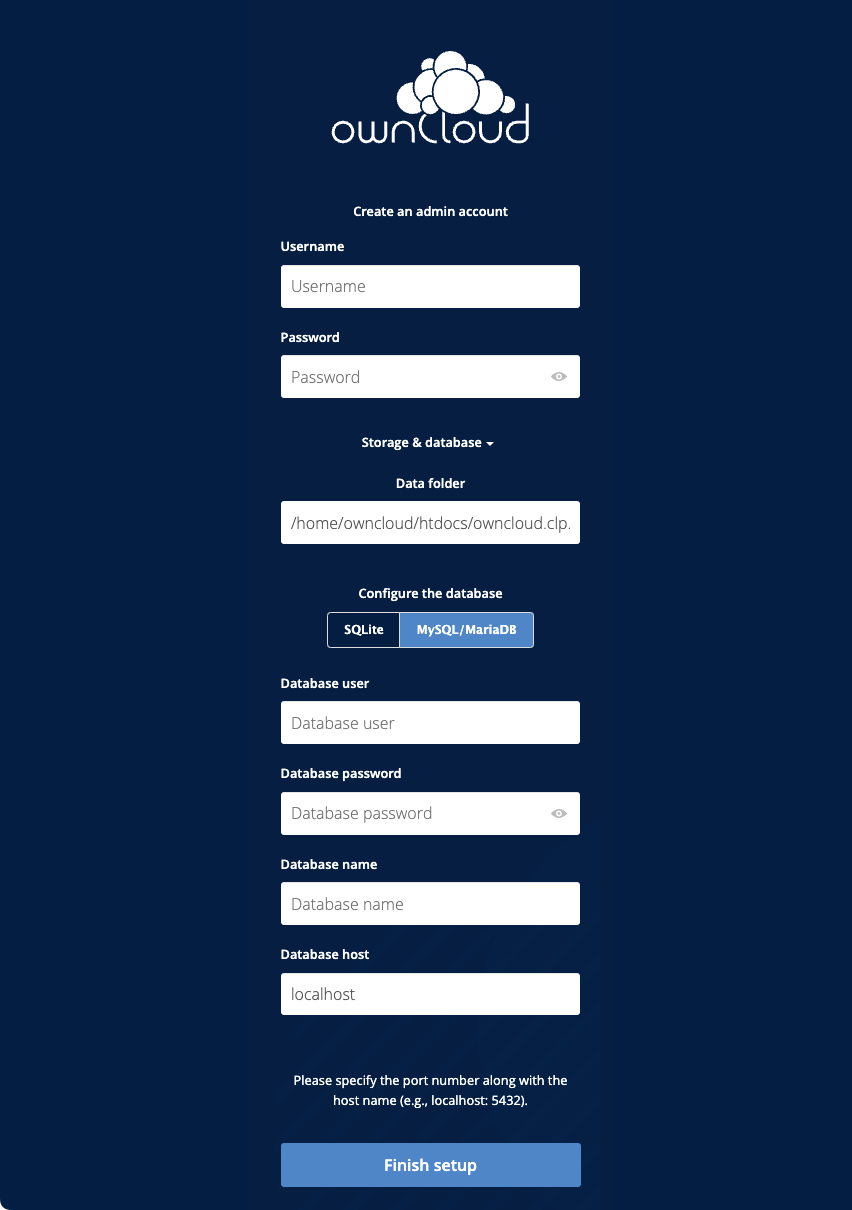
- Create a Database, open your site in the browser, and go through the Owncloud Installer.
- Done. OwnCloud has been installed.