Mautic 4
CloudPanel v1 is obsolete
CloudPanel v1 is obsolete; check out the CloudPanel v2 Docs.
On this page, we explain step by step how to setup Mautic 4 with CloudPanel.
Installation
In the following example we will setup Mautic under the domain www.domain.com.
Preparation
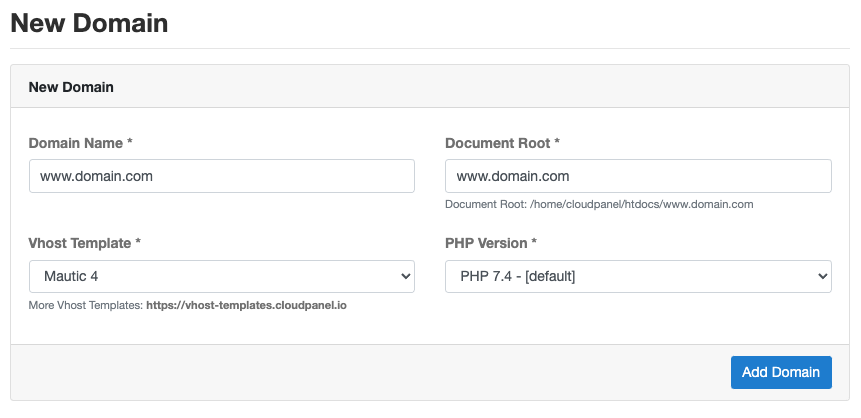
Before we can start with the installation, we need to create an SSH User, a Database, and a Domain.
When you Add the Domain, make sure to select the Mautic 4 Vhost Template and the right PHP Version.
Installation
To install Mautic do the following steps:
- Login via SSH to the server e.g. with john-ssh and go to the htdocs directory:
cd /home/cloudpanel/htdocs/
- Delete the project directory which has been created by CloudPanel:
rm -rf /home/cloudpanel/htdocs/www.domain.com
- Clone the latest version from the Mautic Git Repository:
git clone -b 4.0.0 https://github.com/mautic/mautic.git /home/cloudpanel/htdocs/www.domain.com
Latest Version
You find the latest version on github: https://github.com/mautic/mautic/releases
- Install via composer:
cd /home/cloudpanel/htdocs/www.domain.com/
php7.4 /usr/local/bin/composer install
- Reset permissions.
cd /home/cloudpanel/htdocs/
clpctl system:permissions:reset www.domain.com 775
- Open your domain in the browser and go through the installation wizard.
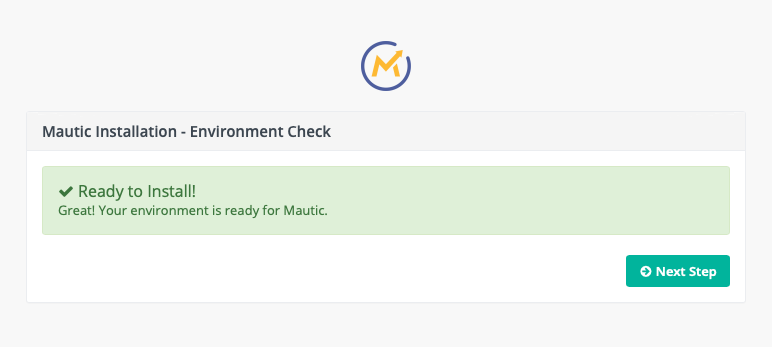
- Done! Mautic 4 is now installed.