Shopware 6
CloudPanel v1 is obsolete
CloudPanel v1 is obsolete; check out the CloudPanel v2 Docs.
On this page, we explain step by step how to setup Shopware 6 with CloudPanel.
Installation
In the following example we will setup Shopware under the domain www.domain.com.
Preparation
Before we can start with the installation, we need to create an SSH User, a Database, and a Domain.
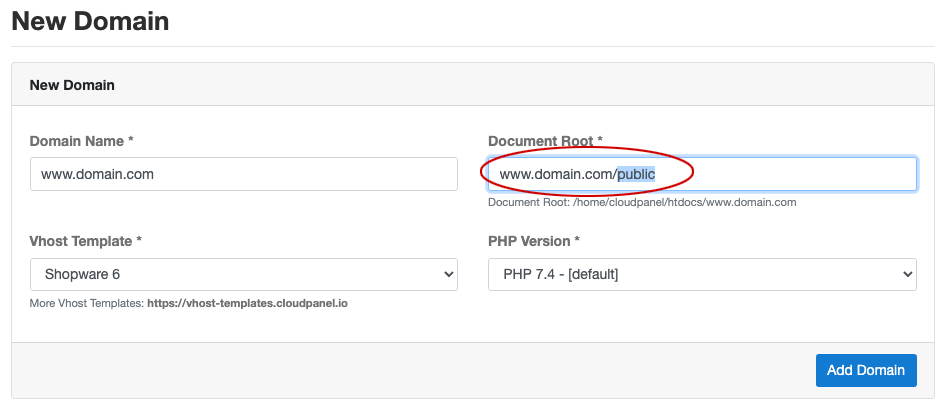
When you Add the Domain, make sure to select the Shopware 6 Vhost Template and the right PHP Version.

Document Root
Make sure to point the Document Root to the public directory and to use PHP 7.4.
Installation
- Login via SSH to the server e.g. with john-ssh and go to the users tmp directory:
cd ~/tmp
- Download and extract Shopware 6:
curl -sLo shopware6.zip https://www.shopware.com/de/Download/redirect/version/sw6/file/install_v6.4.0.0_53c7ba74a3d915e6e8d045b59df1ae2922df15da.zip && unzip shopware6.zip -d shopware6
- Move files to the htdocs directory of the domain:
cp -R shopware6/* /home/cloudpanel/htdocs/www.domain.com/
- Reset permissions.
cd /home/cloudpanel/htdocs/
clpctl system:permissions:reset www.domain.com 775
- Clean up the tmp directory.
rm -rf ~/tmp/*
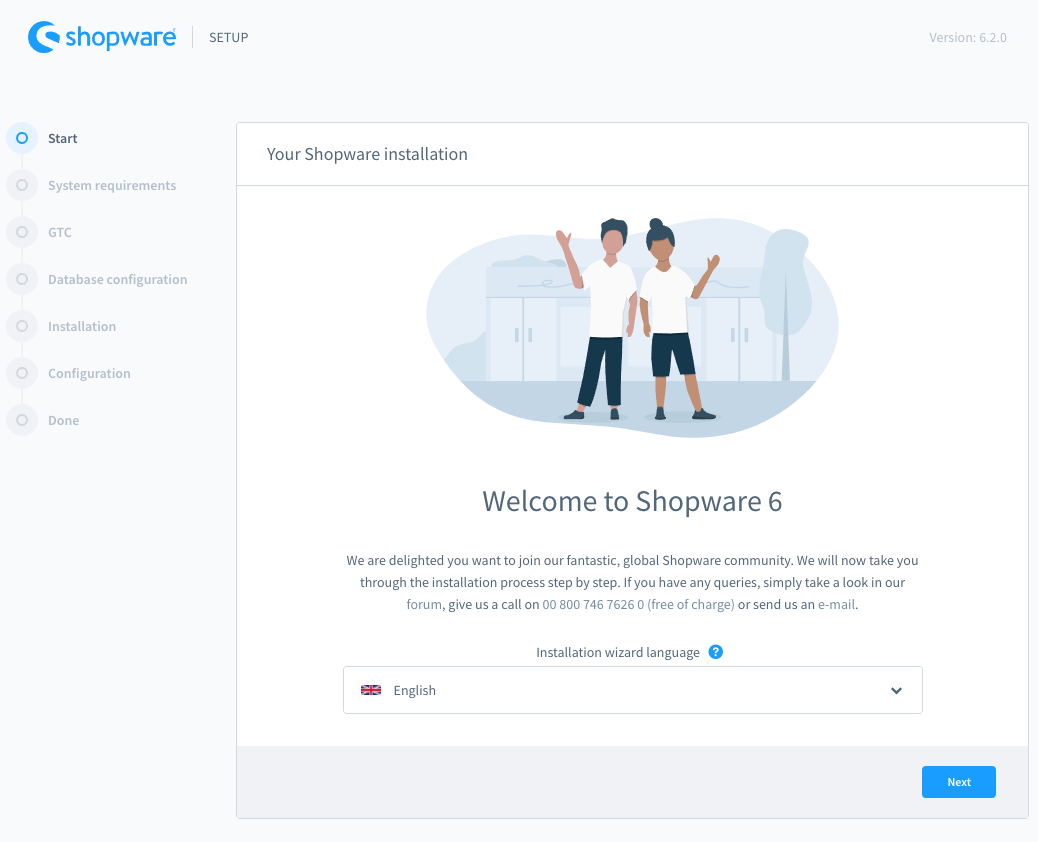
- Open your domain in the browser and go through the Installation Wizard.

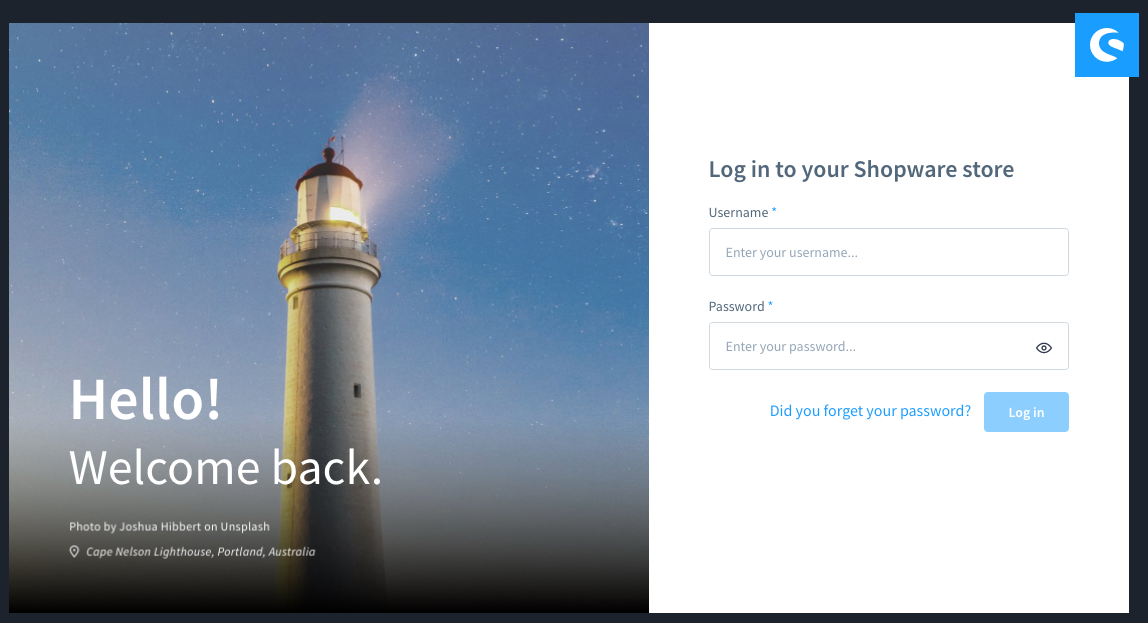
- Done! You can now login to the Shopware 6 admin area.
